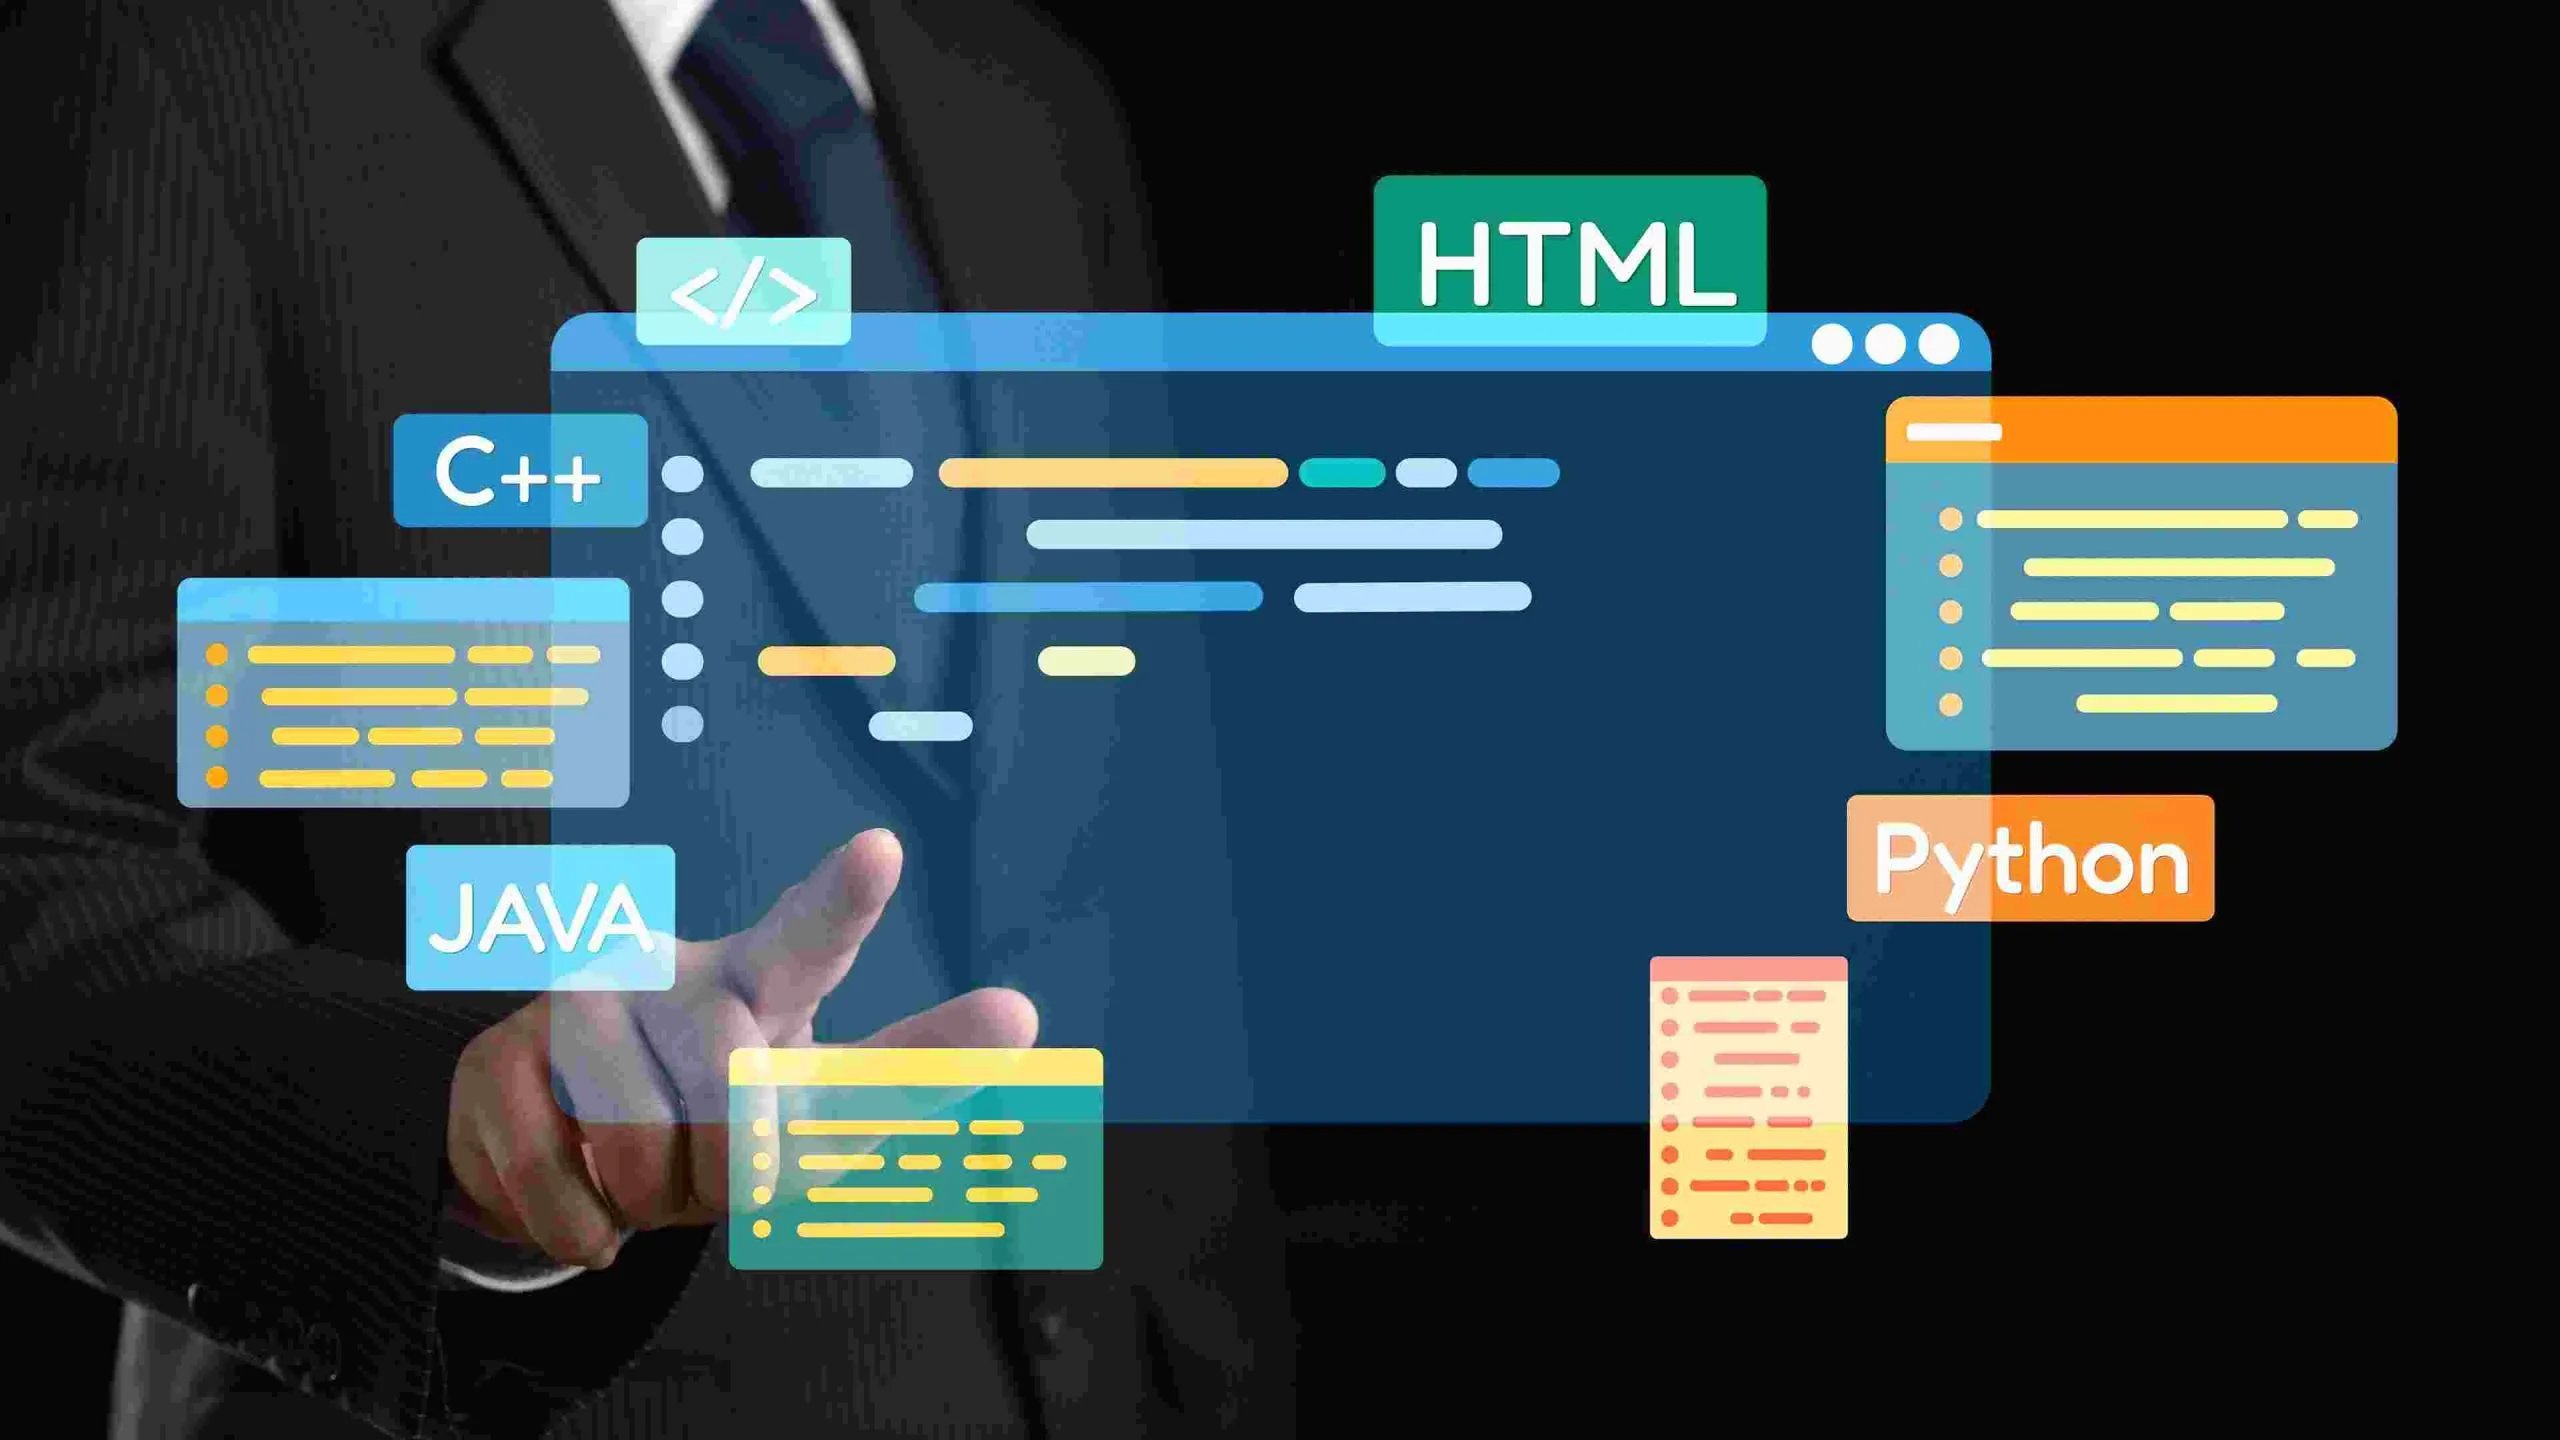
Converting an HTML website into a WordPress site is a common task for web developers and site owners looking to benefit from WordPress’s dynamic features and content management system. HTML sites are fast and simple, but they lack the flexibility and easy content management that WordPress offers. If you have an existing HTML site and want the CMS layer without losing your existing design, this guide walks through the conversion process in a detailed, practical way.
Why Convert HTML to WordPress?
Before getting into the mechanics, it helps to know what you’re actually trading up for.
1. Ease of Content Management
WordPress makes it possible for non-technical users to manage content. With a dashboard built for editing, you can update pages, add blog posts, and modify site content without touching HTML or CSS.
2. Flexibility
WordPress has a library of plugins that extend a site’s functionality without custom coding. Contact forms, ecommerce, SEO tooling, membership gates: all of it drops in as a plugin rather than a bespoke build.
3. Search Engine Optimization
WordPress is built with SEO hooks throughout its template structure. Plugins like Yoast SEO or Rank Math make it straightforward to control meta titles and descriptions, plus structured data, without editing raw HTML head tags.
4. Responsive Design
Most current WordPress themes ship with responsive layouts out of the box, saving you from writing your own breakpoint logic if your existing HTML site was never built mobile-first.
5. Dynamic Content
Static HTML can’t do comments, dynamic archives, or category and tag pages on its own. WordPress handles all of that natively, giving the site room to grow past a handful of static pages.
Now for the actual conversion.
Step 1: Set Up Your WordPress Environment
You need a working WordPress installation before anything else. If you already have one, skip ahead. If not, here’s how to get one running.
Local Development or Live Hosting?
You can install WordPress locally for development and testing, or directly on a live server. For local work, tools like Local by Flywheel, XAMPP, or MAMP get you a working environment in minutes.
- XAMPP: A free, cross-platform stack bundling Apache with MariaDB and PHP. Solid for Windows and Linux development.
- Local by Flywheel: Purpose-built for WordPress development, with one-click site creation and none of the manual server configuration XAMPP requires.
- MAMP: The Mac-focused equivalent, bundling Apache with MySQL and PHP for local testing.
For a live install, download WordPress from WordPress.org, upload it to your hosting server (most hosts offer a one-click installer that skips this step entirely), and log into yoursite.com/wp-admin once it’s set up.
Step 2: Prepare Your HTML Site for Conversion
With WordPress installed, gather everything from the existing site:
- HTML files for each page.
- CSS files controlling the design.
- JavaScript files for any interactive elements like sliders or accordions.
- Images and media, backed up separately from the rest.
Once you have all of it in one place, you’re ready to start building a theme around it.
Step 3: Create a Custom WordPress Theme
Converting HTML to WordPress properly means building a custom theme that mirrors your existing design, since WordPress themes are made of PHP files that dynamically assemble the HTML your visitors see.
Basic Structure of a WordPress Theme
At minimum, a working theme needs:
- header.php, the top section: navigation, logo, opening HTML tags.
- index.php, the main template file WordPress falls back to when no more specific template exists.
- footer.php, the closing section: footer content, closing HTML tags.
- style.css, the stylesheet, which also doubles as the file WordPress reads to register the theme’s name and metadata.
Steps to Build the Theme
- Create a theme folder. Inside /wp-content/themes/, make a new folder (for example, myhtmltheme).
- Add a style.css file with the required header comment:
/*
Theme Name: My HTML Theme
Author: Your Name
Description: A custom theme based on an HTML site.
Version: 1.0
*/
That comment block is what WordPress reads to list the theme in Appearance > Themes. Without it, WordPress won’t recognize the folder as a theme at all.
Split your HTML into parts. Copy the header section of your original HTML, from the opening tag through the start of the body content, into header.php. Copy the footer section into footer.php. What’s left, the actual page content, goes into index.php wrapped with the WordPress header and footer calls:
<?php get_header(); ?>
<main>
  <!-- Your HTML content here -->
</main>
<?php get_footer(); ?>function my_custom_scripts() {
wp_enqueue_style( 'custom-style', get_template_directory_uri() . '/style.css' );
wp_enqueue_script( 'custom-js', get_template_directory_uri() . '/js/custom.js', array(), null, true );
}
add_action( 'wp_enqueue_scripts', 'my_custom_scripts' );Step 4: Add WordPress Template Tags
Static text in your old HTML needs to become dynamic wherever WordPress content should appear. Template tags handle that:
The page title:
<h1><?php the_title(); ?></h1>The page content:
<div><?php the_content(); ?></div>A sidebar, if your design uses one:
<?php get_sidebar(); ?>This is the part that trips people up most: mistaking template tags for regular PHP variables. the_title() and the_content() only output something meaningful inside the WordPress loop, which is why index.php needs the standard have_posts() / the_post() wrapper around any block using them.
Step 5: Import Content to WordPress
If your HTML site has a meaningful amount of content, you have two realistic options: manual entry, or a plugin-assisted import.
- Manual entry works fine for a handful of pages. Create each page or post in the dashboard and paste the relevant content in.
- Plugin-assisted import makes more sense past a dozen or so pages. A plugin like HTML Import 2 can pull in existing HTML files as posts or pages automatically, saving the copy-paste labor.
If your old site organized content into custom sections, like a “Services” or “Portfolio” area, you may want to set those up as custom post types in WordPress rather than forcing everything into standard posts and pages. That keeps the content structure closer to what it was, and gives you dedicated archive and single templates for each type later on.
Step 6: Install Plugins for Additional Functionality
Once the theme and content are in place, plugins fill in the functionality gaps a static HTML site never had. Common starting points:
- Yoast SEO or Rank Math, for meta tags and on-page SEO guidance, plus automatic sitemaps.
- Contact Form 7 or WPForms, for functional contact forms, since static HTML forms typically need a separate backend script to actually send anything.
- A caching plugin, since a dynamic PHP site has more overhead per request than the static files you’re moving away from.
Common Problems During Conversion
A few issues show up on almost every HTML-to-WordPress conversion.
Broken CSS after activation. Usually caused by hardcoded relative paths in the original stylesheet that don’t match WordPress’s folder structure once the theme lives inside wp-content/themes/yourtheme/. Swap relative paths for get_template_directory_uri() wherever the CSS references images or fonts.
JavaScript that worked on the static site suddenly throwing console errors. Usually a jQuery conflict. WordPress ships its own bundled jQuery and loads it in noConflict mode by default, so any script written assuming $ is available globally needs a small adjustment.
Forms that submitted fine on the old host doing nothing on WordPress. Static HTML forms often point at a mailto: link or a third-party form processor. Once you’re on WordPress, that same markup won’t automatically talk to a form plugin. You need to actually replace the form with a plugin-generated one, not just keep the old markup.
Fonts loading differently than they did on the static site. If the original HTML linked to font files with a relative path, those paths break the same way image paths do once the files move into a theme folder. Re-point font-face declarations at get_template_directory_uri() the same way you would for background images, or switch to enqueueing the fonts as a proper WordPress asset.
Anchor links to page sections stop working after the page gets rebuilt. If your original HTML used id attributes for in-page navigation (a “back to top” link, a jump to a pricing table), double-check those IDs survived the copy into your new template files. It’s an easy thing to drop when you’re restructuring markup into PHP includes.
Migrating Interactive Elements Beyond a Contact Form
Contact forms get most of the attention in conversion guides, but static HTML sites often carry other interactive pieces that need their own plan.
Image sliders and carousels built with a JavaScript library like Slick or Swiper will keep working once you enqueue the same library files through functions.php, but check version compatibility with any slider plugin already bundled in your new theme. Running two different slider libraries side by side is a common source of console errors after conversion.
Accordion or tab widgets built with custom JavaScript usually port over cleanly the same way, provided the markup structure and class names stay identical between the old HTML and the new theme templates.
Comment sections are worth a specific mention, since a static site never had them and WordPress supports them by default. Decide early whether you want native WordPress comments, a third-party system, or comments disabled entirely, since retrofitting this decision after the site is live and indexed adds unnecessary rework.
Performance After Going Dynamic
A static HTML site serves files directly with no processing overhead. A WordPress site runs PHP and queries a database on every request unless something is caching the output. This is the tradeoff nobody mentions upfront: you’re gaining a CMS and losing some of the raw speed advantage a static site had by default.
A caching plugin closes most of that gap. WP Rocket, W3 Total Cache, or WP Super Cache all generate static HTML snapshots of your dynamic pages and serve those to visitors instead of running the full WordPress bootstrap on every request. Combined with a lightweight, well-coded theme (the custom theme you built earlier qualifies, since it has none of the bloat a heavy multipurpose theme carries), page speed after conversion often lands close to what the static site delivered.
What If You Only Have a Handful of Pages?
Not every conversion needs a full custom theme. If the original HTML site is a five-page brochure site with no plans to grow, building a matching custom theme is a lot of PHP work for something you could achieve faster with a page builder theme and a bit of manual styling. Import your copy and images into a flexible theme like Astra or GeneratePress, rebuild the layout using the block editor or a page builder plugin, and match the fonts and colors to your brand. You lose the pixel-exact match to the old design, but you save the theme development time entirely, and you get a theme that’s easier for someone else to maintain later without knowing PHP.
The custom theme route makes more sense when the design has specific layout quirks a page builder can’t easily replicate, or when the site is going to keep growing with new templates over time.
Handling a WordPress Multisite or Multi-Language Original
If the HTML site had separate language versions, say an /en/ and /fr/ folder structure, that adds a layer most conversion guides skip over. WordPress doesn’t handle multilingual content natively. You’ll need a plugin like WPML or Polylang to recreate the same structure, with each translated page connected to its counterpart through the plugin’s own linking system rather than folder paths. Plan this before you start importing content, since retrofitting multilingual support onto an already-imported single-language site means redoing the URL structure and reconnecting every translated page by hand.
Should You Build the Theme From Scratch or Start From a Base Theme?
Building entirely from scratch gives you full control but means writing every template file yourself, including ones that are easy to forget, like 404.php or search.php. A lot of developers instead start from a minimal starter theme (Underscores is the most common example) and graft their existing HTML and CSS onto that skeleton. You get WordPress’s standard file structure and hooks already wired up, and you’re only replacing markup and styles rather than building the plumbing from zero. For a site with more than a few page templates, this is usually the faster and less error-prone route.
Testing Before You Go Live
Before pointing the domain at the new WordPress install, check the basics: every page from the old site has a WordPress equivalent, internal links point to the new URLs rather than the old static file paths, images load from the Media Library rather than broken relative paths, and forms actually deliver submissions somewhere. It’s also worth testing the site with plugins disabled one at a time if something breaks after installation, since a plugin conflict is a far more common cause of a broken page than a mistake in your theme files.
Frequently Asked Questions
Do I need to know PHP to convert an HTML site to WordPress? Some familiarity helps, particularly for template tags and the loop structure, but you don’t need to be a PHP developer. Most of the work is copying existing HTML into the right files and adding a handful of specific function calls in predictable places.
Will my SEO rankings survive the conversion? They can, provided URLs stay the same or redirect properly. If your old HTML site used /about.html and your new WordPress permalink is /about/, set up a 301 redirect from the old URL to the new one. Skipping this step is the single most common way a conversion tanks existing search rankings.
Can I keep my existing domain and hosting? Usually, yes, as long as your host supports PHP and MySQL, which the vast majority of shared and managed hosting plans do. Static HTML hosting on something like GitHub Pages or a plain S3 bucket won’t run WordPress, so that specific combination would require moving to a different host.
What happens to my old HTML files after conversion? Nothing, unless you delete them. It’s worth keeping a backup copy of the original site outside the WordPress install, both as a design reference and as a fallback if something in the conversion needs rechecking later.
How long does a typical conversion take? For a five to ten page brochure site with a straightforward design, a developer comfortable with WordPress theming can usually finish in a day or two. Larger sites, or ones with a lot of custom JavaScript interactivity, stretch that out considerably, mostly because of the testing and debugging phase rather than the theme-building itself.
Do I lose my old page’s load speed once it’s on WordPress? Not necessarily, but it takes deliberate work to keep it close. A caching plugin and a lean custom theme (rather than a heavy multipurpose one) go a long way toward closing the gap between a static file being served directly and a PHP request being processed and cached.
Conclusion
Converting an HTML website to WordPress combines the design work you’ve already done with the content management and plugin ecosystem WordPress provides. Following the steps above, you can build a custom theme based on your existing site, keep its look intact, and pick up features a static site simply can’t offer on its own.
The process takes some PHP familiarity, particularly around template tags and the WordPress loop, but once the theme is built, day-to-day content updates get considerably easier than editing raw HTML files by hand.