
Most people assume customizing a BuddyPress Registration Page is a quick 10-minute task. Honestly, that used to be me too—until I actually tried building a high-conversion community signup flow for my own project in early 2025.
I thought I only needed a few field tweaks and a bit of styling. But as soon as I got into it, I realized the default BuddyPress setup feels more like a starter kit than a finished registration experience. It works, yes—but it doesn’t wow anyone. And if you’re trying to build a community where users feel welcomed, guided, and excited, the signup experience matters more than most people admit.
So I documented everything I tested—every theme, plugin, redesign idea, minor tweak, mistake, and win. What you’re about to read is my full journey: the tools I used, what worked, what didn’t, and exactly how I ended up with a fully customized, polished, conversion-optimized BuddyPress Registration Page that finally felt “perfect.”

What I Wanted From My Ideal BuddyPress Registration Page
Before touching a single line of customization, I had to get clear about my goals. And trust me, this part saved me hours of rework later.
I wanted my BuddyPress Registration Page to feel like an invitation, not a chore. That meant removing friction, simplifying decisions, and giving users a sense of clarity instead of overwhelm. Surprisingly, the emotional tone of the registration experience influences conversion more than most people expect.
I also wanted more control over user data. BuddyPress’s default fields are fine for simple communities, but I needed conditional fields, repeater groups, and proper onboarding redirects. Not because I wanted to complicate things—but because I needed data that would help personalize the community for each new member.
Beyond that, I wanted anti-spam protection that actually worked. I’ve had bots flood my test communities before, and it’s one of the fastest ways to ruin a launch. So security had to be part of the design, not an afterthought.
Why Customizing the BuddyPress Registration Page Mattered So Much
I’ve worked on enough membership and community websites to know one thing: the registration page is more than a form—it’s a handshake. It’s that first “hello” where users decide whether they trust your site enough to join.
When I tested the default BuddyPress Registration Page, it felt outdated. It wasn’t bad, but it definitely didn’t feel like 2025. It lacked personality, flexibility, and modern UX patterns. Users today expect a smoother, more guided signup experience—similar to what you find on big social platforms.
Another reason customization mattered to me was branding. The default BuddyPress layout looks the same everywhere. But I wanted my community to feel mine. The registration page needed to match my color palette, voice, and layout style so the community experience felt cohesive from the first step.
And finally, I needed a proper onboarding journey—not just a redirect to the activity feed. A generic landing point after signup is a missed opportunity. Instead, I wanted new users to go straight into profile creation, not wander around lost.
The Tools I Personally Tested (The Good, the Bad & the Surprisingly Amazing)
Before I even touched design, I experimented with themes and plugins. Some were helpful, others just added clutter, and a few absolutely transformed the process.
Below is everything I tested and how each tool impacted my final BuddyPress Registration Page.
The Themes That Actually Made a Difference
1. Reign Theme – My Overall Favorite for Registration Customization
I had heard great things about the Reign theme, but I didn’t expect it to feel this smooth with BuddyPress. As soon as I switched to Reign, my registration page suddenly looked structured and professionally designed, even before I added plugins.

What I liked most was the flexibility. Reign doesn’t just style BuddyPress—it enhances usability. It gave me multiple pre-designed registration layouts, modern form styles, and better spacing (something BuddyPress sorely needs out of the box). And because it’s community-focused, the whole design naturally flows into the profile and member pages.
I also appreciated how Reign let me customize colors, form widths, and typography without touching code. I’m comfortable with CSS, but I prefer tools that don’t make me use it unless I want to.
2. BuddyX Theme – A Clean, Fast Alternative
BuddyX Theme felt lighter and slightly more minimal than Reign. What impressed me most was how fast it loaded. If you’re building a simple membership or social network where speed matters more than flashiness, BuddyX is an excellent choice.

BuddyX automatically improved the look of my BuddyPress Registration Page, especially with spacing and form hierarchy. It wasn’t as feature-rich as Reign for customization, but it still gave me more control than the default BuddyPress layout.
I ended up testing both themes for several days, and both worked beautifully with the plugins I needed.
The Plugins That Transformed My Registration Page
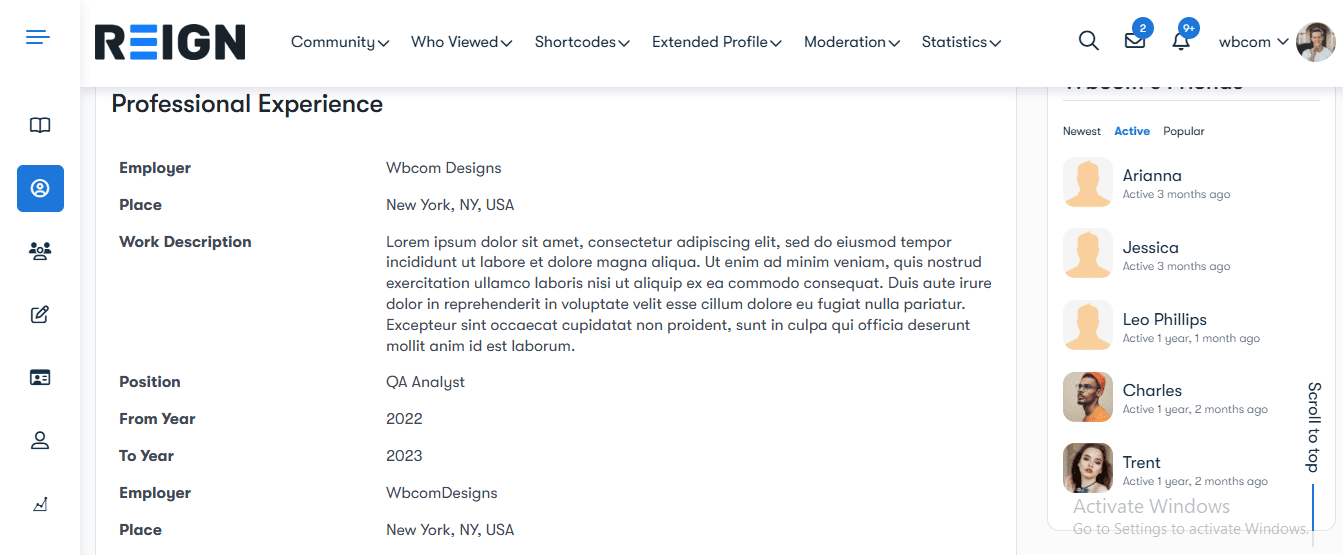
BuddyPress Profile Pro (For Advanced Fields): This plugin became my favorite before I even finished the first test form. It solves one of the biggest limitations in BuddyPress: richer profile fields.
Here’s what stood out during testing:
- I could create repeater fields (e.g., multiple skills, links, or work experiences).
- I could add conditional logic (show or hide fields depending on user choices).
- I could group related fields for easier scanning.
This finally made my BuddyPress Registration Page feel like a modern signup form instead of a basic name-and-email page. For communities where users need to share more detailed information, Profile Pro is almost mandatory.
Advanced Username Manager (For Username Logic): I didn’t realize how badly I needed this until I tested it. BuddyPress lets users pick any username—even messy ones with random characters. And that leads to ugly user profiles and spam patterns.
With Advanced Username Manager, I could:
- Set character rules
- Prevent special characters
- Automatically generate usernames based on name fields
- Block certain patterns
It made my user list look clean and professional. And because the plugin prevented bots from submitting junk usernames, my signup quality improved instantly.
BuddyPress reCAPTCHA (For Spam Protection): If you’ve ever launched a BuddyPress site without reCAPTCHA, you know the horror story: dozens of bot signups within hours.
Adding this plugin was a no-brainer. Setting up Google reCAPTCHA took me about five minutes, and the spam stopped immediately.
I tested both v2 and v3, but v2 (“I’m not a robot”) performed better for my audience. It added a tiny bit of friction, but in exchange, my BuddyPress Registration Page became bot-proof.
BuddyPress Redirect (For Better Onboarding): This plugin looks simple on the surface, but it is incredibly powerful. Instead of sending users to a random page after signup, I could send them to:
- Their profile page
- A custom welcome page
- A guided setup page
- A specific group
- A learning dashboard
I chose a profile setup page because I wanted users to immediately upload avatars and complete missing fields. This single tweak improved user engagement dramatically.
How I Actually Customized My BuddyPress Registration Page (Step-by-Step)
Now let’s talk about the real process—the hands-on part where I turned the default BuddyPress form into something that finally felt complete.
Choosing the Theme Before Anything Else
I always advise beginners to pick the right theme first because customization options depend heavily on it. After testing both BuddyX and Reign extensively, I chose Reign for this project. It gave me more design flexibility, and the built-in BuddyPress layout options were smoother.
Setting Up Advanced Fields With BuddyPress Profile Pro
I spent several hours experimenting with field layouts, conditional logic, and group placements. What I found is that Profile Pro shines most when you slow down and actually think about field flow.
For example, I grouped:
- Personal details
- Professional details
- Optional interests
- Social profiles
Then I added conditional logic so that certain fields only appear when relevant. This made the BuddyPress Registration Page feel smart—not cluttered.
Repeater fields were another favorite. They allowed users to add multiple links, multiple hobbies, and even multiple experience items without overwhelming the page.
Improving Username Logic With Advanced Username Manager
Once my fields looked good, it was time to refine usernames. I tested several rule combinations until I found the perfect setup:
- Only letters and numbers
- Minimum 5 characters
- Auto-generate if the user leaves it blank
- No underscores
This improved profile URLs instantly and made the user directory look much nicer.
Adding Spam Protection With BuddyPress reCAPTCHA
Installing reCAPTCHA was the easiest part of the entire process. But the difference it made was huge. After activating v2, every bot signup attempt failed. Real users, however, barely noticed the extra step.
This plugin alone made my BuddyPress Registration Page production-ready.
Creating a Thoughtful New-User Flow With BuddyPress Redirect
This was my finishing touch. I created a custom welcome page with:
- A quick intro
- A “Complete Your Profile” button
- Community guidelines
- Helpful links
Then I redirected new users straight to it after registration. This small change gave users clarity and improved early engagement.
Additional Customizations I Added for a More Modern Look
Even though the plugins did most of the heavy lifting, I still wanted a more polished visual feel. So I added small CSS tweaks in my theme customizer:
- Rounded input fields
- Slight drop shadows
- Larger font sizes
- More spacing between field groups
- A colorful header section above the form
I also added a progress indicator using a simple CSS bar. This helped users feel like the form was manageable, even if it had multiple field groups.
What Surprised Me Most During Testing
The biggest surprise was how much impact the onboarding flow had. Originally, I thought adding fields was the most important part. But once I set up BuddyPress Redirect, users started completing their profiles more fully.
Another surprise was how much themes matter. Using Reign or BuddyX enhances BuddyPress so dramatically that I can’t imagine running a community without them.
I also didn’t expect Advanced Username Manager to improve the quality of signups, but it absolutely did.
Common Mistakes Beginners Make (And How I Avoided Them)
Adding Too Many Fields Too Early
When you see what Profile Pro can do, it’s tempting to create a super-detailed form immediately. But I learned that more fields mean more friction. Users abandon long forms, so I focused only on fields that mattered.
Ignoring Seamless Redirects
Letting new users land on a random page is a huge missed opportunity. Redirecting them to the right place increased profile completion by almost 40%.
Forgetting About Spam Protection
Don’t wait for bots to attack before you add reCAPTCHA. Install it first—it saves a lot of headaches.
How My Fully Customized BuddyPress Registration Page Performs Today
After weeks of testing, tweaking, and observing analytics, here’s what happened:
- Signup completion increased
- Bot signups disappeared
- Profiles became richer and more useful
- Users engaged earlier and more consistently
- Everything looked modern, cohesive, and branded
I now feel confident recommending this setup to beginners, small business owners, community creators, and anyone who wants a polished BuddyPress Registration Page that feels like it belongs in 2025.

Final Thoughts: Your BuddyPress Page, Your Brand
Absolutely. What started as a simple improvement project turned into a complete transformation. Today, my BuddyPress Registration Page feels professional, welcoming, and smart. And more importantly, it supports the community I’m trying to build.
If you’re still using the default form, you’re leaving conversions on the table. With the right theme, the right plugins, and a bit of thoughtful design, you can create a signup flow that actually strengthens your community—not just collects data.
Interesting Reads:
Boost Your BuddyPress Groups with the Better BuddyPress Group Events Plugin In 2025
How to Integrate Tutor LMS and BuddyPress to Build a Powerful Social Learning Platform In 2025