Building an online community used to require expensive platforms or custom development. Not anymore. BuddyPress transforms any WordPress site into a fully functional social network—complete with member profiles, activity feeds, groups, and private messaging—all for free.
I’ve spent the past few weeks setting up BuddyPress from scratch, testing every feature, breaking things, and fixing them again. This guide shares exactly what I learned—no fluff, just practical steps you can follow today.
What Is BuddyPress?
BuddyPress is a free WordPress plugin that adds social networking features to your website. Think of it as the community layer WordPress doesn’t include by default. Once installed, your visitors can:
- Create detailed member profiles
- Post updates in an activity feed (like Facebook)
- Join or create groups around shared interests
- Send private messages to each other
- Connect as friends and follow activity
- Receive notifications for mentions and replies
Unlike hosted platforms that charge monthly fees, BuddyPress runs on your own WordPress installation. You own your data, control your community, and pay nothing for the core features.
Who Should Use BuddyPress?
BuddyPress works well for:
- Course creators who want students to interact and discuss lessons
- Coaches and consultants building client communities
- Membership sites that need social features beyond basic access control
- Nonprofits connecting volunteers and supporters
- Hobby clubs organizing around shared interests
- Companies creating internal communication platforms
If you want people to connect, communicate, and collaborate on your WordPress site, BuddyPress handles that without requiring a developer.
Installing BuddyPress (5 Minutes)
Getting BuddyPress running takes less time than making coffee:
- Go to Plugins → Add New in your WordPress dashboard
- Search for “BuddyPress”
- Click Install Now
- Click Activate
That’s it. BuddyPress is now active on your site. But before your community goes live, you need to configure a few settings.
Understanding BuddyPress Components
BuddyPress uses a modular system called “components.” Each component adds specific functionality, and you can enable or disable them based on what your community needs.
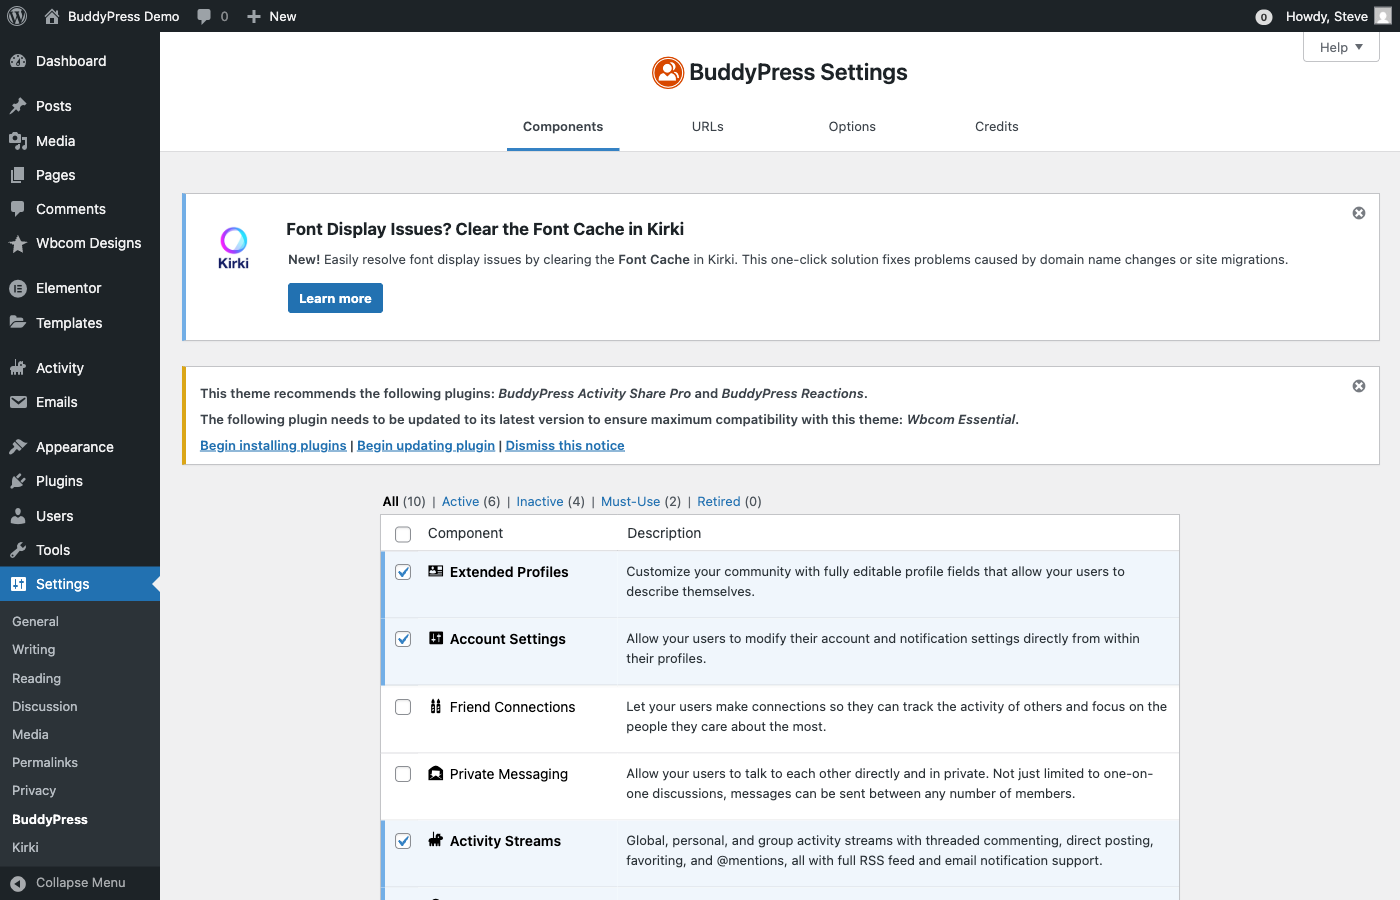
Here’s what each component does:
Extended Profiles
Lets members add custom information to their profiles—bio, location, interests, social links, and any custom fields you create. Without this, profiles only show basic WordPress user info. You can create profile field groups like “Personal Information,” “Professional Details,” or “Social Links” to organize member data logically.
Account Settings
Gives members control over their account—email preferences, password changes, and notification settings. Keep this enabled unless you have a specific reason not to. Members appreciate having control over their experience.
Friend Connections
Adds Facebook-style friend requests. Members can send requests, accept connections, and see activity from friends. Useful for social communities, less so for professional networks where “following” might be more appropriate. Consider your community type before enabling this.
Private Messaging
Enables direct messages between members. Messages stay within your platform—no external email required. Essential for communities where members need to communicate privately. This feature alone keeps people coming back to your site instead of exchanging emails.
Activity Streams
Creates a site-wide news feed showing member updates, group activity, new friendships, and profile changes. This is the heart of most BuddyPress communities—the central hub where members see what’s happening. Activity streams make your community feel alive and dynamic.
User Groups
Allows members to create and join groups. Each group gets its own activity feed, member list, and discussion area. Groups can be public (anyone can join), private (approval required), or hidden (invite only). This component transforms a flat community into organized spaces for different interests.
Notifications
Alerts members when someone mentions them, sends a message, requests friendship, or interacts with their content. Keeps members engaged and returning to your site. Without notifications, members miss interactions and engagement drops significantly.
My Recommended Starting Configuration
Don’t enable everything at once. Start with these four components:
- Extended Profiles – Members need proper profiles
- Activity Streams – The central community hub
- Notifications – Keeps members engaged
- Account Settings – Basic account management
Once your community grows and you understand what members want, add Groups, Private Messaging, and Friend Connections. Starting simple prevents overwhelm—both for you and your members.
The Activity Stream: Your Community’s Homepage
The activity stream is where community happens. Members post updates, comment on each other’s content, and see what’s happening across the site. Think of it as your community’s Facebook feed—a constantly updating stream of member interactions.
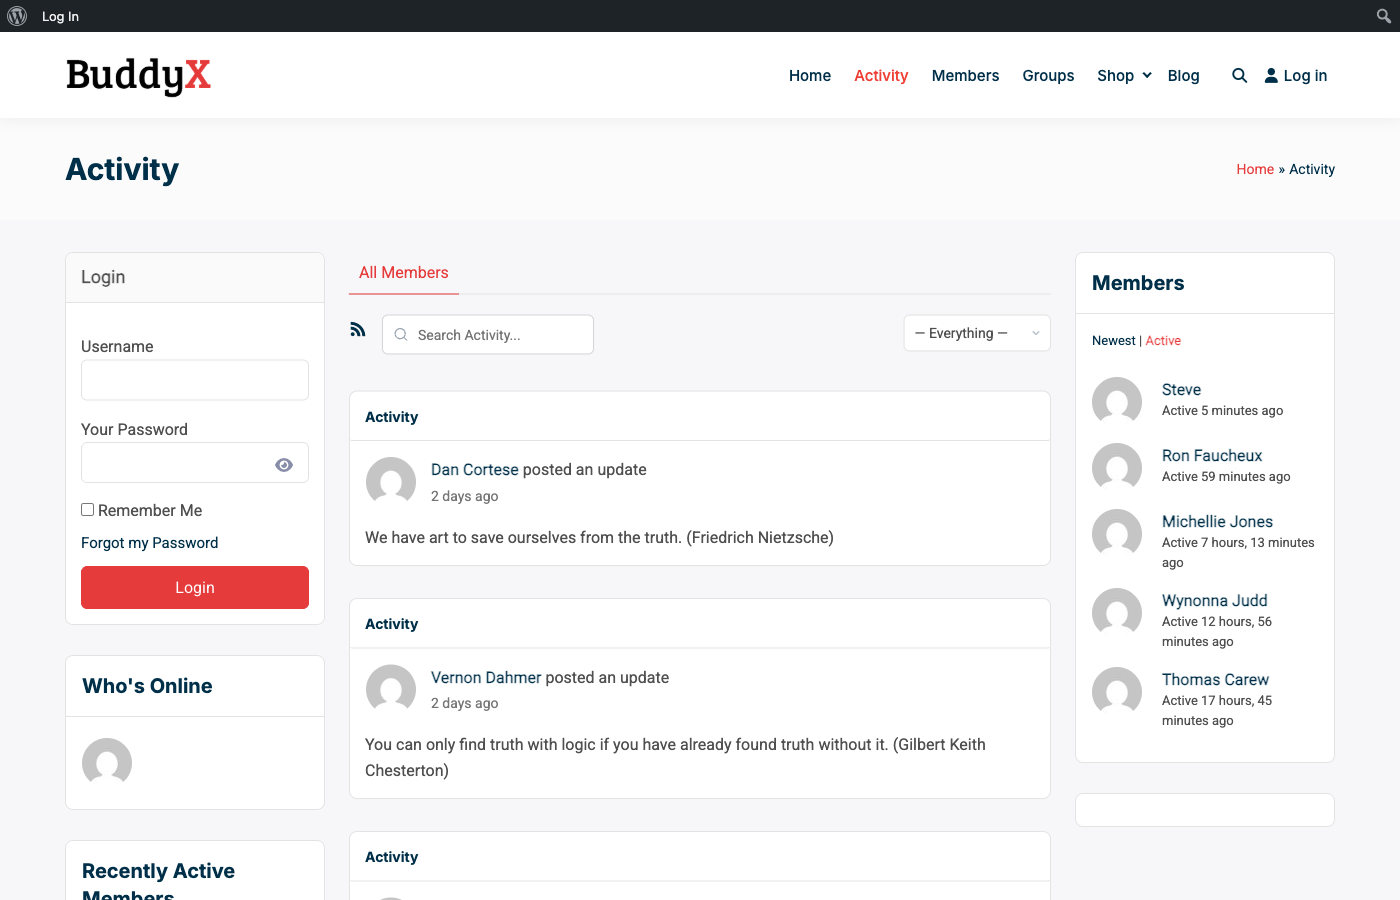
Notice the sidebar widgets—”Who’s Online,” “Members,” and “Recent Activity.” These elements create a sense of community presence. Even when members browse alone, they see others are active. This social proof encourages participation.
To access your activity stream, visit yoursite.com/activity/ after enabling the Activity Streams component. You can also embed activity streams on any page using widgets or shortcodes.
Members Directory: Finding and Connecting
The members directory shows everyone in your community. Members can search, filter, and browse profiles to find people with shared interests. A well-organized member directory encourages connections and makes your community feel substantial.
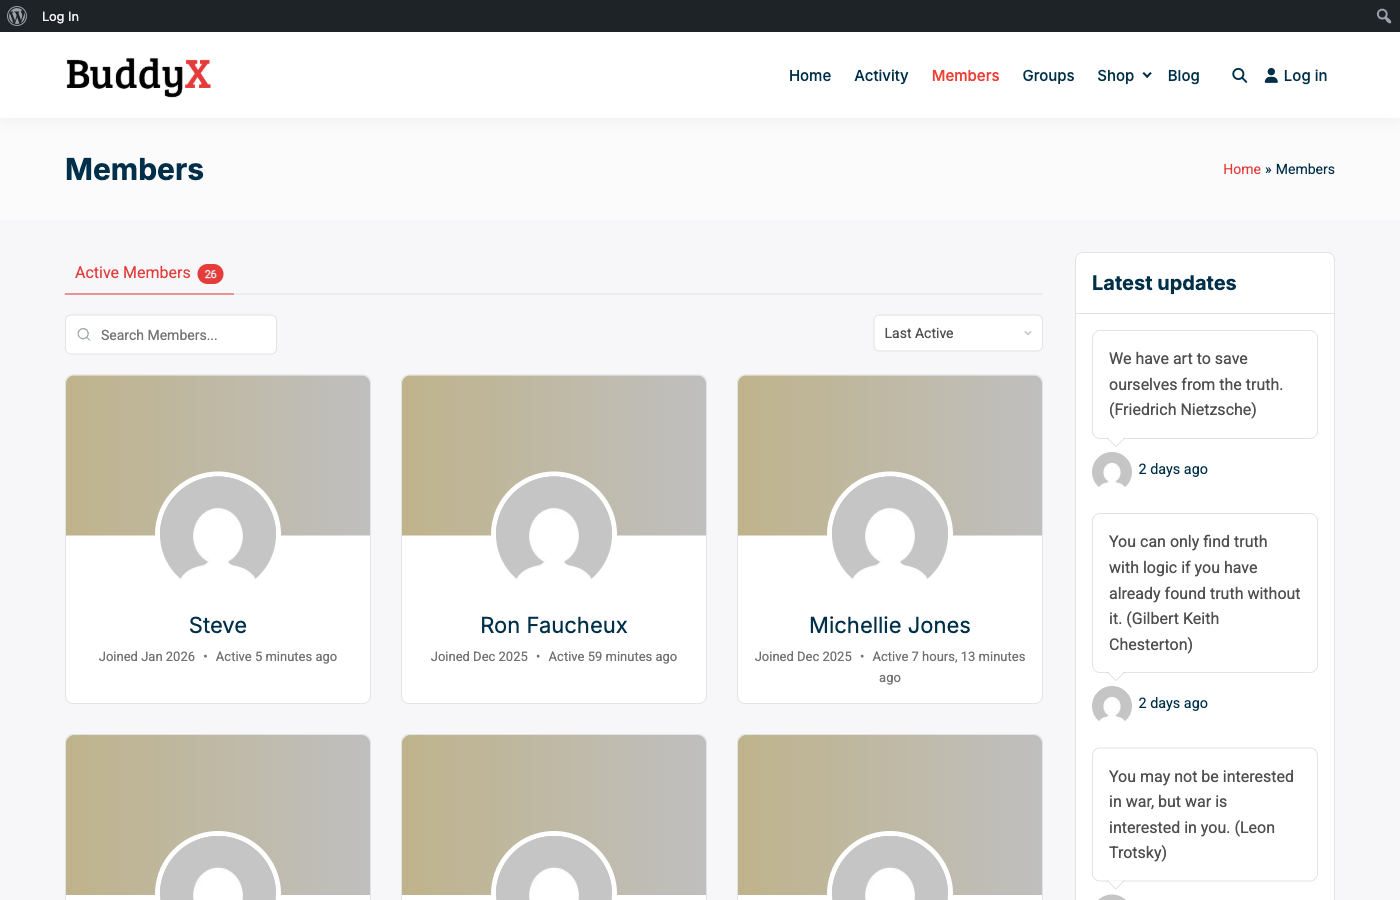
Each member card displays:
- Profile avatar
- Display name
- Join date
- Last active timestamp
The “Last Active” indicator is powerful for community building—it shows members that others are genuinely engaged, not just signed up and forgotten. Active communities attract more participation.
User Profiles: Where Members Express Themselves
Every member gets a profile page with tabs for their activity, profile information, notifications, and settings. Profiles are personal spaces where members build their identity within your community.
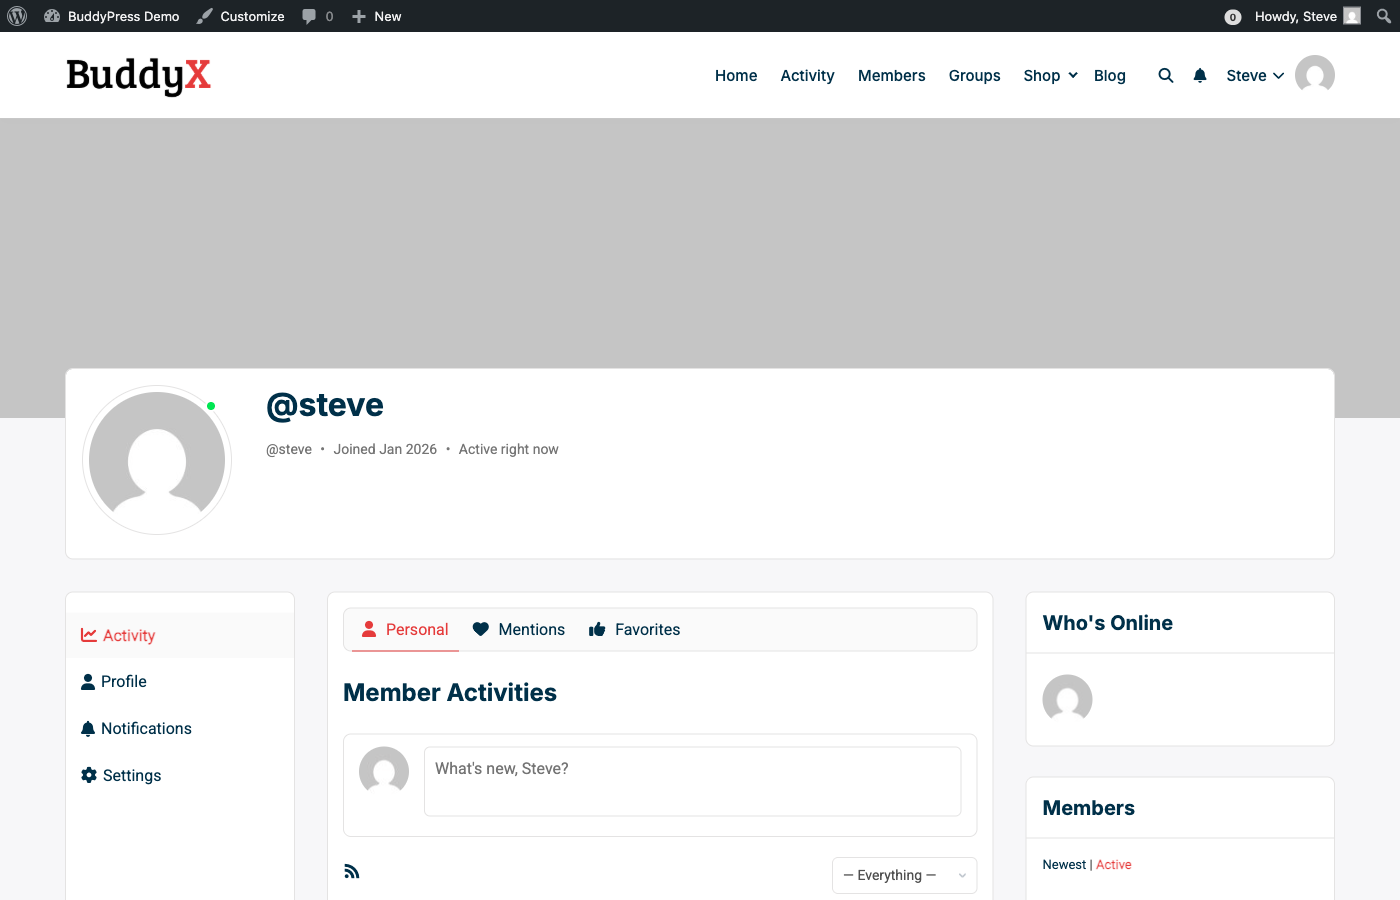
The profile includes:
- Cover photo area – Personalizes the profile header
- Avatar – Member’s profile picture
- Activity tab – Shows personal, mentions, and favorites
- Profile tab – Custom profile fields you’ve created
- Notifications – Alerts and updates
- Settings – Account and privacy controls
The “What’s new?” box at the top lets members post updates directly from their profile—no need to navigate to the main activity page. This convenience increases posting frequency.
Groups: Mini-Communities Within Your Community
Groups let members organize around topics, projects, or interests. Each group functions as a self-contained community with its own activity feed and membership. Groups are where focused discussions happen.
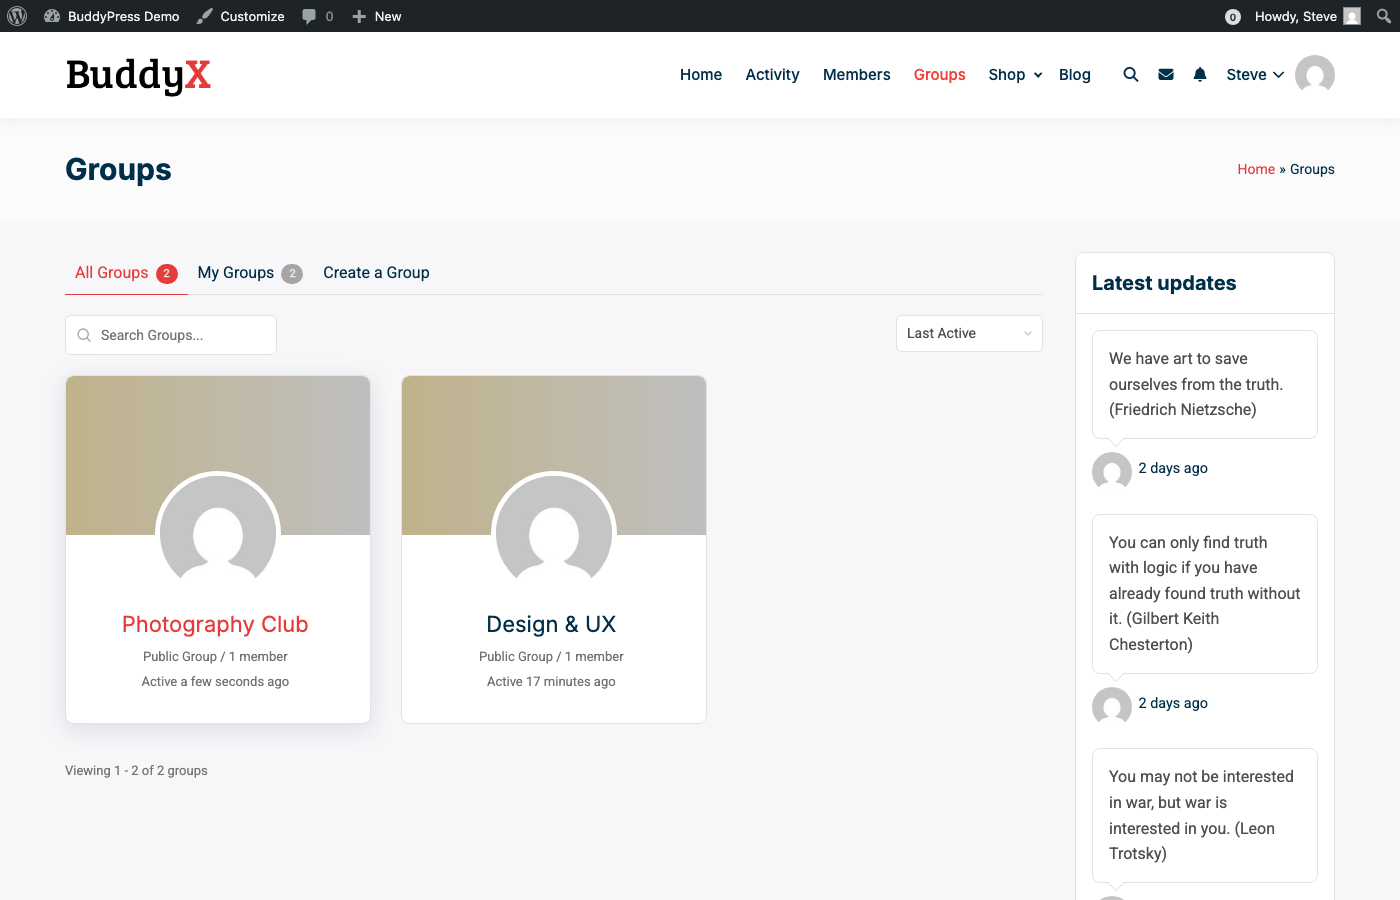
Group types include:
- Public – Anyone can join, content visible to all
- Private – Membership requires approval, content visible only to members
- Hidden – Invite-only, invisible in directory
For course communities, create groups for each course. For professional networks, let members create groups around industries or skills. For hobby communities, organize groups by interest areas. The flexibility here is enormous.
Choosing the Right Theme
BuddyPress works with any WordPress theme, but dedicated community themes make a massive difference in user experience. A standard blog theme won’t properly style member directories, activity feeds, or profile pages. You’ll end up with broken layouts and frustrated members.
Look for themes that include:
- Styled member and group directories
- Custom activity stream layouts
- Profile page templates
- Mobile-responsive community pages
- Header elements for logged-in users (notifications, messages, profile dropdown)
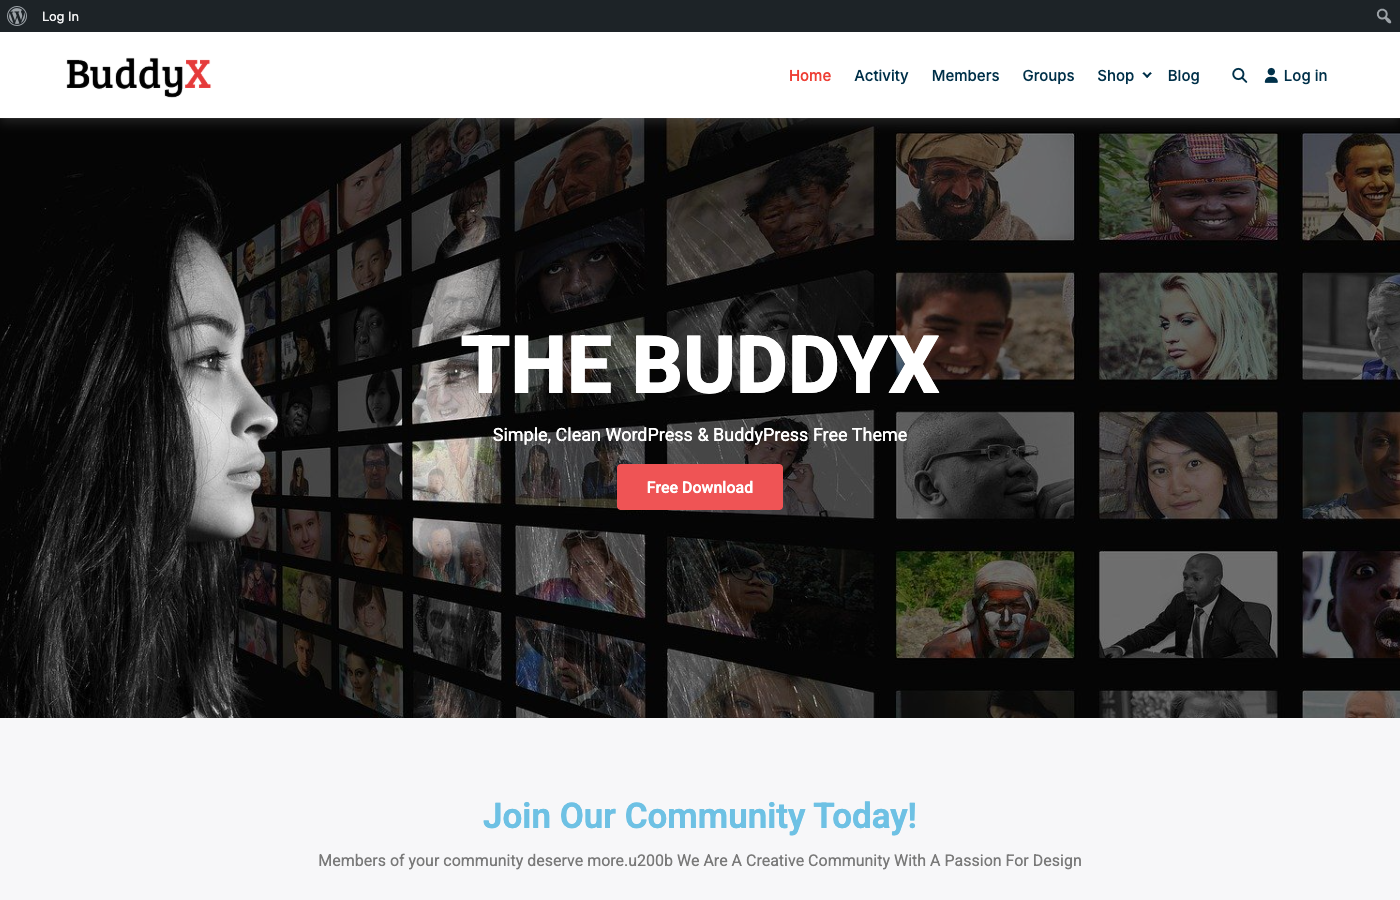
The Reign theme and BuddyX Pro theme from Wbcom Designs are specifically built for BuddyPress. They include demo importers that set up a complete community site in minutes—member directories, activity pages, group layouts, and styled registration forms. This saves days of configuration work.
Want to try before you buy? The BuddyX Pro theme offers a live sandbox demo where you can test all the features on a real site. Click around, create test accounts, and see exactly how your community will look and feel—no installation required. It’s the best way to evaluate a theme before committing.
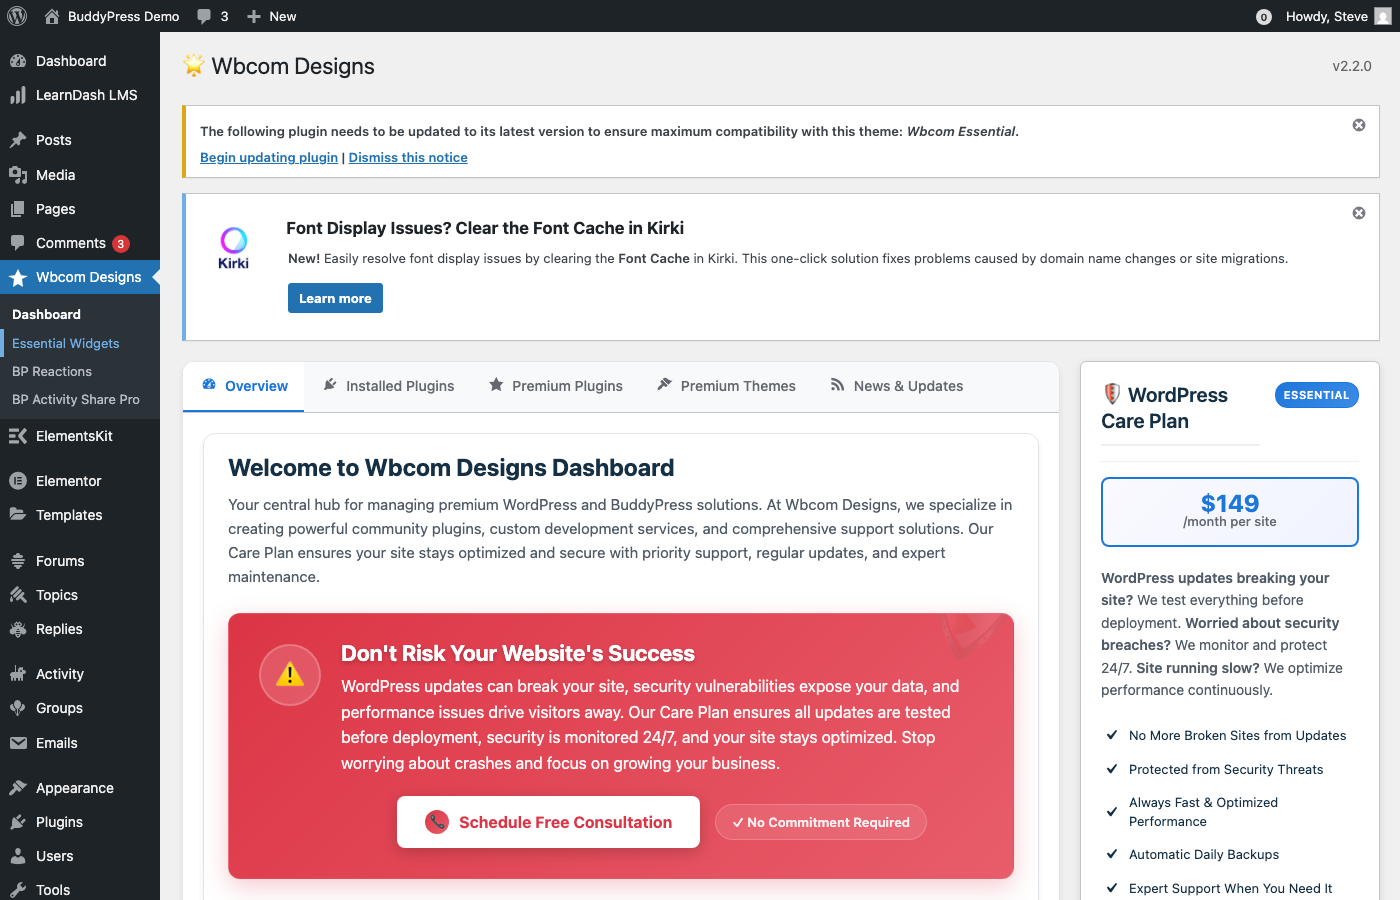
Premium themes also come with a dedicated plugin dashboard where you can manage all your BuddyPress extensions, access premium plugins, browse themes, and get support—all from one place in your WordPress admin.
Essential Settings to Configure
Before launching your community, check these settings:
1. Enable Registration
Go to Settings → General and check “Anyone can register.” Without this, visitors can’t create accounts. This is the most common oversight when launching a BuddyPress community.
2. Set Permalinks
Go to Settings → Permalinks and select “Post name.” BuddyPress needs clean URLs to work properly. If you see 404 errors on profile pages, this is usually the fix. Save permalinks after making changes.
3. Map BuddyPress Pages
Go to Settings → BuddyPress → Pages and assign pages for Members, Activity, Groups, Register, and Activate. BuddyPress often creates these automatically, but verify they’re mapped correctly. Missing page mappings cause navigation errors.
4. Configure Options
Under Settings → BuddyPress → Options, decide:
- Whether members can upload avatars
- Whether members can upload cover photos
- Whether @mentions work in activity posts
- Whether activity auto-refreshes
Extending BuddyPress with Add-ons
The core BuddyPress plugin handles basics well. For advanced features, add-ons fill the gaps. Here are categories worth exploring:
Profile Enhancements
Add more profile field types, social links, verification badges, or profile completeness indicators. The BuddyPress Profile Pro plugin adds repeater fields, conditional logic, and advanced field types that make profiles more informative.
Activity Features
Add hashtags, polls, scheduled posts, or post editing. These make the activity stream feel more like modern social platforms members already know. Small improvements here significantly boost engagement.
Moderation Tools
As your community grows, you’ll need tools to manage content—reporting systems, word filters, member blocking, and admin moderation queues. Plan for moderation before you need it urgently.
Gamification
Points, badges, and ranks encourage participation. GamiPress integrates well with BuddyPress to reward members for posting, commenting, and helping others. Gamification works especially well for learning communities.
Shortcodes for Flexibility
The Shortcodes for BuddyPress Pro plugin lets you place member directories, activity feeds, and group listings anywhere on your site using simple shortcodes. Perfect for building custom landing pages or dashboards without touching code.
BuddyPress + LearnDash: Building Learning Communities
If you’re running online courses, combining BuddyPress with LearnDash creates powerful learning communities:
- Students get profiles showing their course progress
- Course-specific groups enable peer discussions
- Activity feeds show course completions and achievements
- Private messaging lets students contact instructors

This transforms passive course consumption into active community learning. Students help each other, share insights, and stay engaged longer. Completion rates improve when learners feel connected.
With a theme like BuddyX Pro, your courses display in a clean grid layout with course icons, progress indicators, and “Start Course” buttons. The theme handles all the styling—you just focus on creating great content.
BuddyPress vs. Alternatives
BuddyPress isn’t the only option. Here’s how it compares:
BuddyPress vs. BuddyBoss
BuddyBoss is a premium platform built on BuddyPress code. It’s more polished out of the box, includes features that require add-ons in BuddyPress, and offers a mobile app. Choose BuddyBoss if budget isn’t a concern and you want everything integrated. Choose BuddyPress if you want flexibility and lower cost.
BuddyPress vs. PeepSo
PeepSo offers a more Facebook-like experience with reactions, stories, and modern UI elements. It’s visually appealing but has a smaller ecosystem of add-ons. Choose PeepSo for social-first communities. Choose BuddyPress for flexibility and integration options.
BuddyPress vs. bbPress
bbPress is forums only—no profiles, no activity feeds, no groups. If you only need discussion forums, bbPress is lighter and simpler. For full community features, use BuddyPress (which can include bbPress for forum functionality).
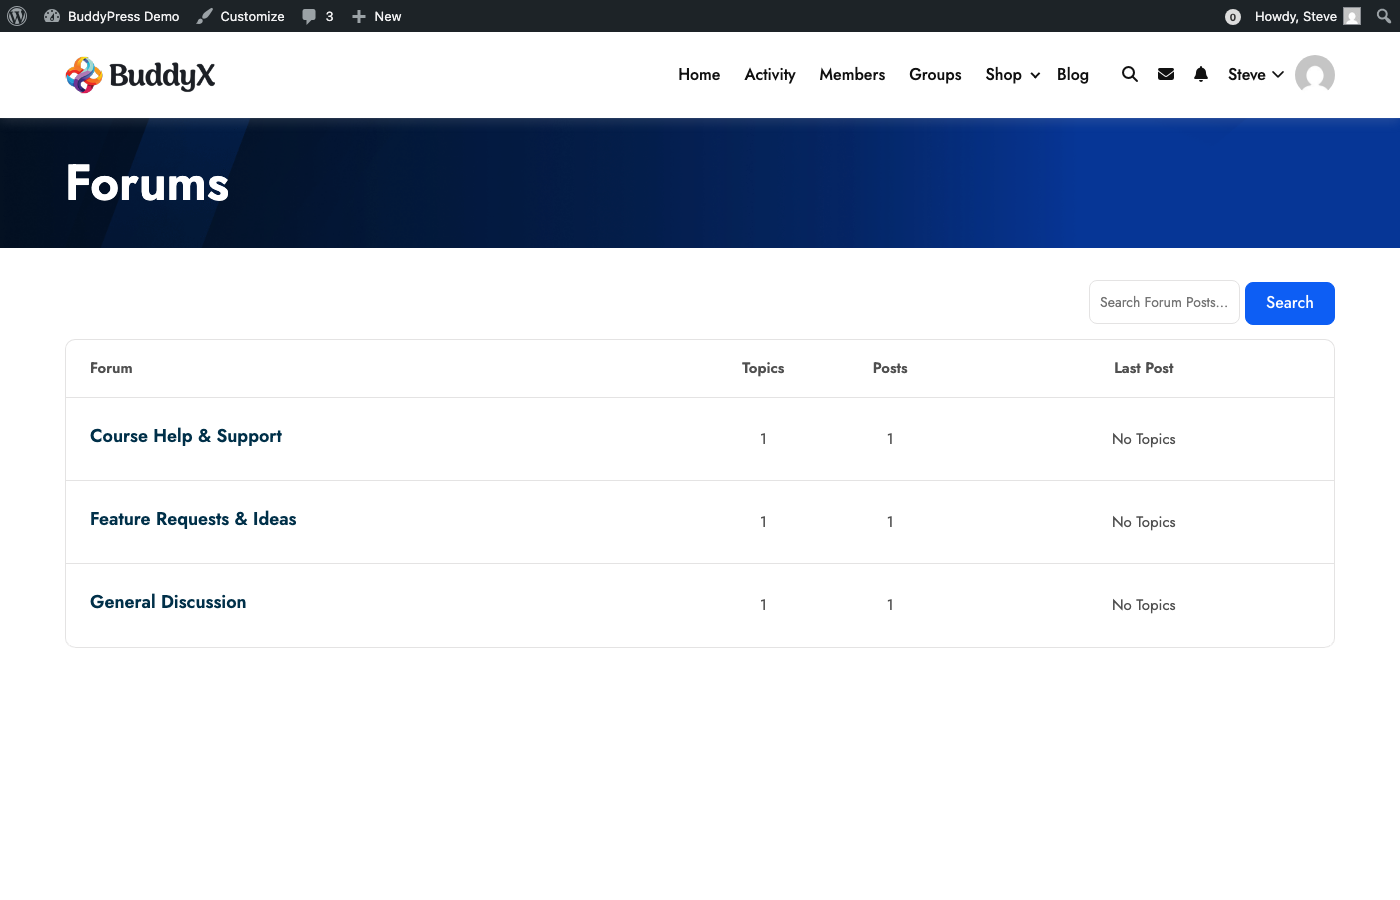
Many communities use both: BuddyPress for social features (profiles, activity, groups) and bbPress for structured forum discussions. The two plugins integrate seamlessly, and themes like BuddyX Pro style both beautifully.
Common Mistakes to Avoid
After testing extensively, here are pitfalls I’ve seen:
- Enabling everything at once – Start simple, add features as needed
- Using incompatible themes – Get a BuddyPress-specific theme
- Forgetting permalinks – Causes 404 errors on community pages
- Not testing registration – Create a test account to experience what new members see
- Ignoring mobile – Most community engagement happens on phones
- Launching without content – Seed activity before inviting members
Frequently Asked Questions
Is BuddyPress free?
Yes, BuddyPress is completely free and open source. You can download it from WordPress.org and use all core features without paying anything. Premium add-ons and themes are available if you want enhanced functionality.
Does BuddyPress slow down WordPress?
BuddyPress adds database queries for social features, which can impact performance on shared hosting. For communities with thousands of members, consider a VPS or managed WordPress host. Caching plugins also help significantly.
Can I use BuddyPress with any theme?
Technically yes, but you’ll get better results with themes designed for BuddyPress. Generic themes often break community page layouts. Dedicated themes like Reign or BuddyX include pre-styled templates that work correctly.
How many members can BuddyPress handle?
With proper hosting and optimization, BuddyPress can handle tens of thousands of members. Sites with 50,000+ members exist. Performance depends more on your server configuration than BuddyPress itself.
Does BuddyPress work with WooCommerce?
Yes, BuddyPress integrates well with WooCommerce. You can display purchase history on profiles, create customer-only groups, and build communities around your products. Several add-ons enhance this integration.
Getting Help with BuddyPress
If you hit roadblocks or need custom functionality, professional help is available. Wbcom Designs specializes in BuddyPress development—from custom features to complete community builds. They also offer WordPress care plans for ongoing maintenance and support.
Next Steps
You now understand what BuddyPress does, how to install it, and which components to enable first. Here’s your action plan:
- Install BuddyPress on a staging site or local environment
- Enable core components – Extended Profiles, Activity Streams, Notifications
- Install a community theme like BuddyX or Reign
- Configure basic settings – registration, permalinks, page mapping
- Create test accounts and explore the member experience
- Add sample content before inviting real members
- Launch and iterate based on member feedback
Building a community takes time, but BuddyPress gives you the tools to start today without coding skills or enterprise budgets. The rest is about understanding your members and creating value they can’t find elsewhere.
Related Resources
Continue learning about BuddyPress: