Do you want to add a separate BuddyPress Resume menu to a user’s profile page? A professional resume showcasing your members’ professional, educational, and other relevant skills lets prospective employers find and contact them directly. It also makes your community feel more professional and interactive. Here’s how to add a professional resume to your BuddyPress website.
Reasons Why Adding A Resume Is A Smart Idea
Imagine giving your community members two benefits at once: a place to interact socially, and a way to display their resume so people can find and hire them.
Here are a few reasons adding a resume to your profile is worth doing:
1. An online resume displaying skills, education, and work experience acts as an always-on recruiter, since it’s visible on your profile around the clock. An interested employer can find you any time, which beats a resume sitting hidden on your desk.
2. Professional resumes give your community website a visually distinct, more engaging feel.
3. Posting resumes online gives members wider reach and better visibility. Letting them publish resumes also keeps them more engaged, since they tend to spend more time on the site. That improves both site visibility and user retention.
4. A resume also lets members show more of their personality. They can add their own details and make their resume feel individual rather than generic.
How To Enable Check-In Feature On BuddyPress Website?
Adding A Professional Resume To Your BuddyPress Website
Now let’s add a resume manager to your BuddyPress community website. Install and activate the BuddyPress Resume Manager plugin.
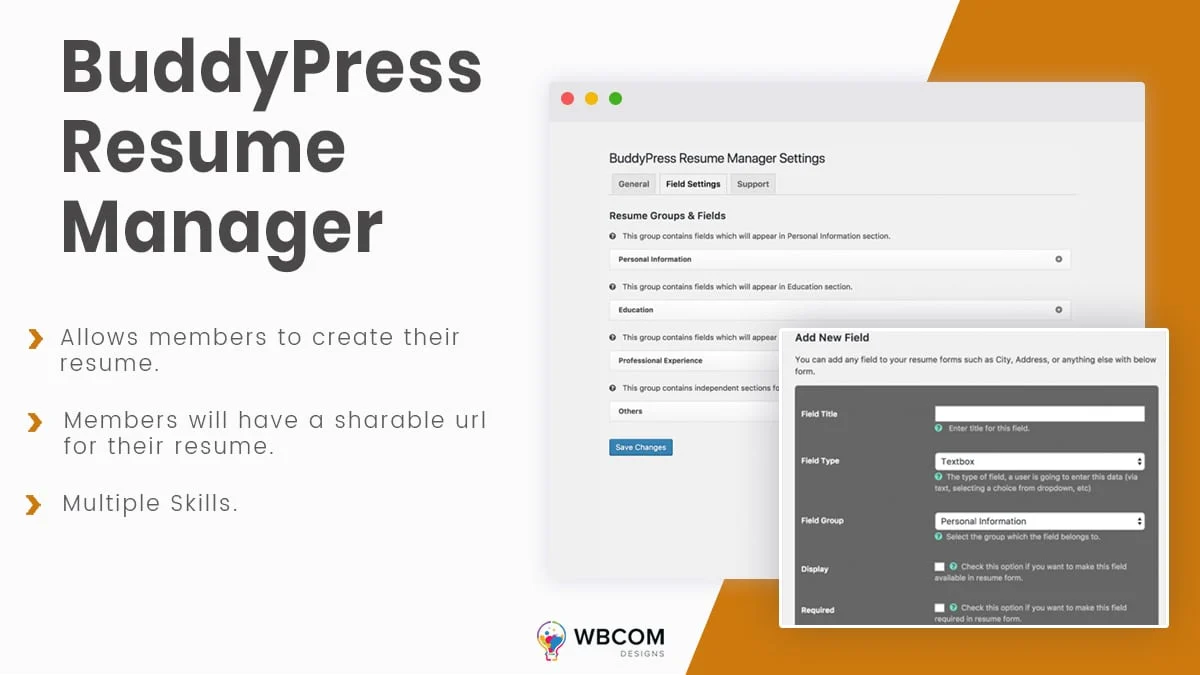
It’s a dedicated BuddyPress add-on that adds a separate Resume menu to each member’s profile page to display their individual resume. It ships with predefined resume fields that a site admin can enable or disable as needed.
Once the plugin is installed and activated, configure its settings:
General Settings:
General Settings let you enable the Google Autocomplete field type in the resume, with options like:
- A Google API key to fetch places while setting locations for work and education
- Adding the resume to the BP profile page and enabling resume field visibility settings
Group Settings:
These settings let you configure resume groups. By default, there are four main sections:
- Personal Info
- Educational Info
- Professional Experience
- Others
You can add new resume groups to the form, along with a group title, description, display area, and other settings.
Field Settings:
Here you add new fields that appear on the resume under each main section.
The Add New Field option lets you set a field title, field type, and field group, and mark it required or repeatable. You can also drag and drop fields to reorder them.
Front-end View:
Once the settings are saved, a resume section appears in the profile area where members can fill in and save their individual resumes, one field at a time, including multiple educational entries. Here’s how a filled-in resume looks:
Members also get a shareable URL for their resume, making it easy to send their professional experience straight to employers.
Get BuddyPress Resume Manager
We hope this article helps your community site look more professional with a resume feature in place. If you have any suggestions, let us know in the comments below.
Interesting Read: How To Create A Customized Newsfeed Experience On Your BuddyPress Website?