Create social media platforms like using WordPress and BuddyPress

Want your website to turn into a community? You can easily do so by transforming your website into a social media platform. Don’t worry; it is not expensive or complicated. It all can be done with the help of WordPress and its community plugin BuddyPress. Yes, you can create a website with user profiles, groups, chats, activities, friends, and much more that you get on a social media platform like Facebook. Thousands of people and institutions around the globe have already created various types of social media platforms using BuddyPress such as:
- Social channels for particular interest groups.
- Communities focused on products and services.
- A social network spread across the campus for your university, school, or college.

What is BuddyPress?
BuddyPress is the best community plugin you can get on WordPress. It is an open-source and free plugin used to create social media websites. With the help of BuddyPress, you can create a social media platform and build a connected space for your friends, family, and colleagues. Since it is an open-source plugin, it is very flexible to use.
BuddyPress features include creating user profiles, groups, activity streams, chats, and much more that you expect from a social media platform.
How to Start a Social Media Platform?

To build a social media platform from scratch with the help of WordPress and the BuddyPress plugin, we must follow several simple steps.
- Find a niche.
- Get a domain name and hosting service.
- Install WordPress.
- Install a BuddyPress-supported theme.
- Import demo and customization.
- Integrating different functionalities.
- Managing the platform.
Step 1: Find a Niche
It’s best to focus on a specific idea for your social media platform rather than trying to be everything at once. There are countless social media platforms that became successful by focusing on a particular niche, Instagram focused on pictures and videos only, LinkedIn is for professionals and jobseekers.
So think about what your niche will be. Do some brainstorming and come up with something suitable for you.
Also Read: Best WordPress BuddyPress Events Plugins
Step 2: Get a Domain Name and Hosting Service
The domain name will represent your social media platform, so keep it simple and memorable. You can purchase a domain name from a registrar like GoDaddy.
After purchasing a domain name, you’ll need a hosting service. A hosting service manages your backend and database and keeps your website online. Some of the best hosting services in the market are provided by Bluehost, Hostinger, and Dreamhost, though there are many more to choose from.
Step 3: Install WordPress
You can either install WordPress manually or select the WordPress plan provided by your hosting provider. This process only takes a few minutes.
Step 4: Install a BuddyPress-Supported Theme
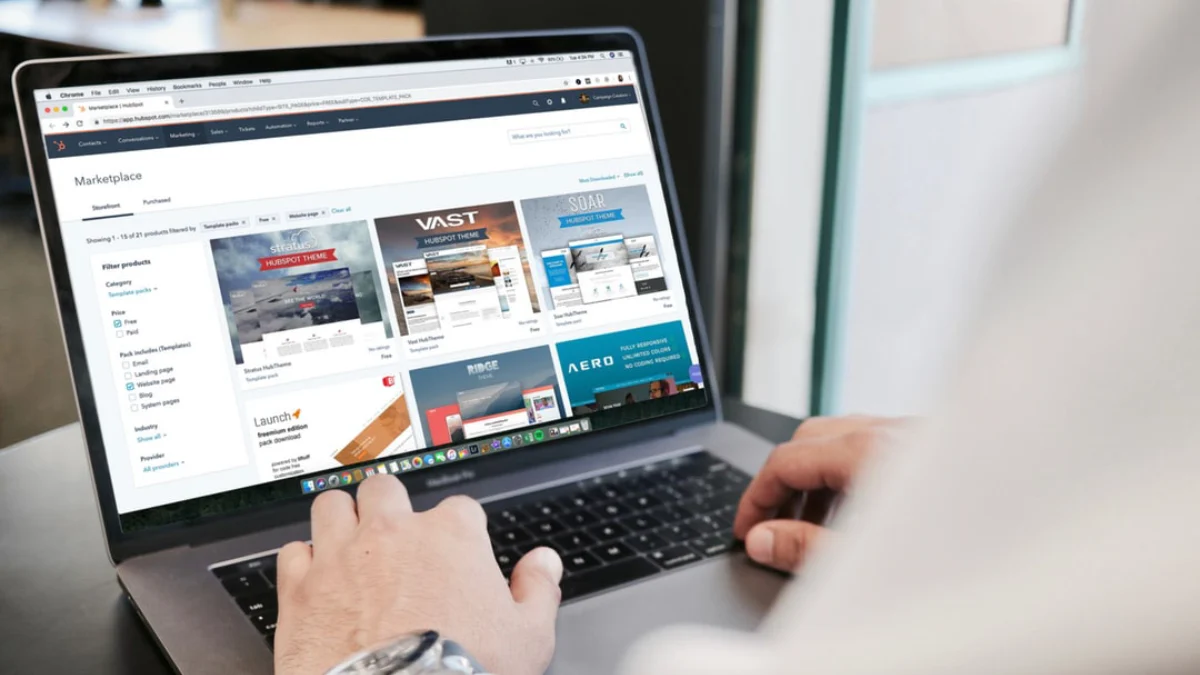
You might be wondering, why go for a theme at all? Why not just install the BuddyPress plugin and build the platform directly? You can do that, but a BuddyPress-based community theme makes the whole process simpler and more comfortable than working with just the plugin.
BuddyPress is an open-source plugin, so it has plenty of loose ends that only experienced developers tend to understand well. You’d also need to integrate several other plugins to cover different functions. A proper theme gives you a polished UI without much extra work.
Here, I’ll recommend the BuddyX theme, a lightweight, fast, and responsive community WordPress theme that comes with a range of integrated plugins and add-ons for security, performance, and design.
Difference Between BuddyPress and BuddyX
- BuddyPress is an open-source WordPress community plugin; BuddyX is a WordPress community theme built on top of BuddyPress.
- BuddyPress alone requires separate plugins for anything beyond core community features. BuddyX has integrated support for functionality like WooCommerce for e-commerce and bbPress for discussion forums.
- Designing the UI from scratch with just the BuddyPress plugin takes real effort. BuddyX’s one-click demo import turns that into a short, simple process.
BuddyX Features
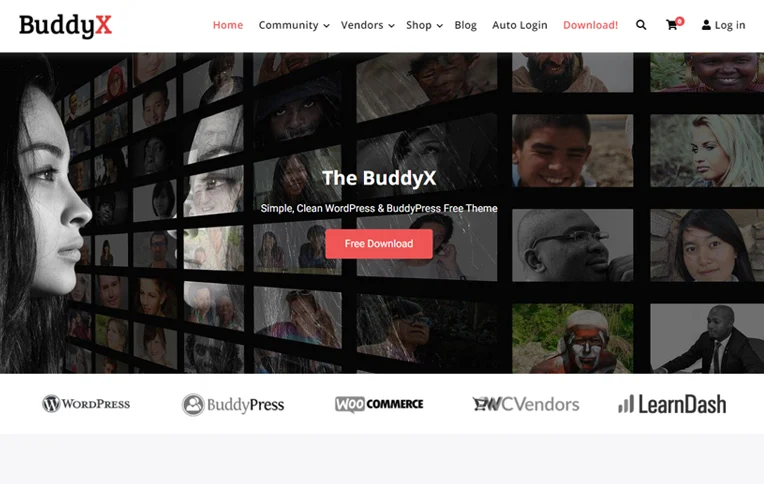
- BuddyPress platform support helps integrate every feature that completes a social media website, such as user profile pages, friend lists, chats, activity streams, status updates, and more. The BuddyX theme brings all of it together.
- The demo import feature lets you design your website in a single click. Import the demo, install it, and you’re most of the way there.
- You can also add your own creativity through the advanced customization options, features like Multiple Header Variations, Members and Groups Layout, Multiple Member & Group Header Layouts, and more.
- You can integrate multiple plugins to expand your community and start selling products and courses from your website easily, bbPress for discussion forums, WooCommerce for an online store, LearnDash for selling and managing courses. The possibilities with BuddyX are wide open.
- BuddyX provides add-ons for better performance and security, extra features covering functionality, security, and more.
Also Read: Why Community Management Matters For Your Business?
Pricing
BuddyX is a free-to-use WordPress community theme, also available in a premium version, BuddyX Pro, for $59/year or $199 lifetime for a single website, and $129/year or $299 lifetime for five websites.
Now that you’ve picked a theme, let’s move to step 5.
Step 5: Import Demo and Customization
With one-click demo installation, you can import the demo, and you’ll have a beautiful social media platform with a smooth UI ready to go. From there, just edit the tags, headings, and other details to shape the site into what you envisioned. Do any manual customization you’d like using Elementor and the BuddyX Advance Theme Customizer.
Once you’re happy with the design, you can move ahead.
Step 6: Integrating Different Functionalities

From here, you can add plugins and add-ons that provide different services and functions for your website’s users. For e-commerce, you could integrate WooCommerce or Dokan; for discussion forums, bbPress; and GamiPress can gamify member profiles with points and badges based on the criteria you set. BuddyX also offers its own set of add-ons that might be exactly what your social media website needs. Some of them are:
- BuddyPress Post From Anywhere: provides a shortcode that lets users post from anywhere.
- BuddyPress Birthdays: displays the upcoming birthdays of your community members.
- BuddyPress Activity Filter: helps display a customized activity feed on BuddyPress.
- BuddyPress Giphy: lets you attach GIFs to chats, comments, and activities.
- BuddyPress Moderation Pro: lets members flag inappropriate content on the site.
- BuddyPress Private Community Pro: keeps member profiles safe by locking down specific profile components.
Beyond these, there are plenty of other add-ons, BuddyPress Status, BuddyPress Hashtags, BuddyPress User Todo List, BuddyPress Profile Pro, BuddyPress Sticky Post, and more, split into Free and Premium BuddyPress add-ons. You can also purchase the BuddyPress Community Bundle to save up to 50% on premium plugins.
Also Read: How to Create Website Content that Actually Converts
Step 7: Managing the Platform
With your social media website live thanks to the BuddyX community WordPress theme, it’s on you to manage and grow it from here. Keep up with regular updates and add or remove plugins as needed for better performance, security, and user satisfaction.
Conclusion

If you’ve followed all the steps above, you now own a new social media platform. From here, it’s about growth, use the different tools, plugins, and add-ons the BuddyX theme provides to make your website stand out.
Interesting Read:
How to Establish Trust in your Marketplace Community?
Free Ways to Gain Instant Website Traffic
Factors to Consider Before Hiring a Web Development Firm for an Ecommerce Venture