Anyone can build a WordPress website. Turning that website into a social network is a different project, and it’s one a lot of businesses eventually want to take on. If you already have a WordPress site and want a convenient way to add social features to it, here’s what the process actually looks like.

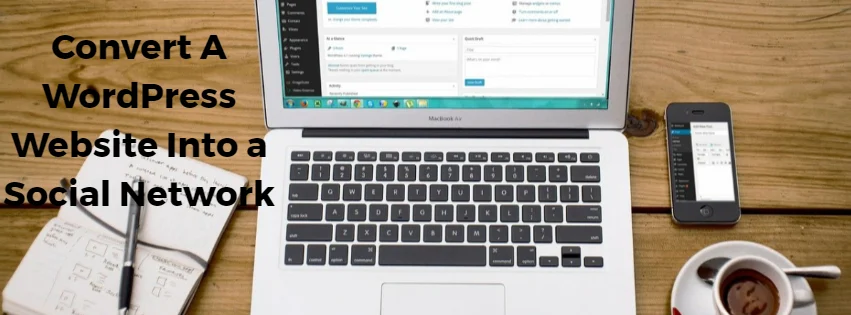
Convert A WordPress Website Into a Social Network
WordPress is a solid platform for building a social network, mainly because of the BuddyPress plugin. Here’s how you can use it to turn any website into a social network.
Why Social Network?
WordPress is a flexible, open-source CMS, and a WordPress social network built with the right features lets users sign up, connect, post, and message each other directly. A social networking or community site is also a solid way to grow traffic, since people tend to come back to a site where they have a profile and connections.
It also tends to increase engagement and give the admin more control over how people move through the site. To pull this off, you need to build out user profiles, private messaging, groups, and the other core pieces of a social platform.
1. Choose BuddyPress

If you want to establish an online community around your business, the BuddyPress plugin is the natural starting point. It gives you a full administration layer for running a community site, with a management interface simple enough that you don’t need to be a developer to configure it.
Plenty of plugins add individual social features, but BuddyPress bundles activity streams, profiles, and the rest into one package that works with any standards-compliant WordPress theme.
Once it’s active, BuddyPress lets your visitors build profiles, connect with each other, and post updates to their activity streams, all without you having to hand-build any of that from scratch.
2. Set Up BuddyPress

Installing BuddyPress is the easy part. You can grab it directly from the WordPress plugin directory.
Also Read: How to Create Website Content that Actually Converts
Log in to your WordPress admin dashboard, go to Plugins, click Add New, search for BuddyPress, and click Install.
Once it’s installed and activated, go to Settings >>> BuddyPress to configure the plugin. You’ll see a list of components you can enable or disable depending on what your site needs. The defaults work fine for most sites.
3. Set Up Pages
This part is worth doing carefully. Go to WordPress Dashboard >>> Settings >>> BuddyPress >>> Pages.
BuddyPress creates the essential pages for you automatically, but you can also point it at custom pages if you’d rather build your own.
4. Display Pages on Website
Once everything is configured, add the BuddyPress pages to your navigation menu so members can actually find them.
Go to Appearance >>> Menus, choose the BuddyPress pages from the left column, and click Add to Menu.
From there, visitors can register, build out their profiles, and become members of your community. They’ll be able to access the content you’ve published and start interacting with other members.
BuddyPress also comes with built-in tools for moderating unwanted activity. The Activity page lets you track what’s happening on your site and step in when needed.
Getting Started
BuddyPress is a solid option whether you’re adding a few social features to an existing site or building a full community platform from the ground up.
This covers the basics of converting a WordPress website into a social network. If you’d rather have someone else handle the setup, you can reach out to the team at Wbcom Designs. You can also find us on Twitter and LinkedIn.
Interesting Reads:
How To Show Upcoming Birthdays On Your BuddyPress Social Network?