How to Set Up Invite-Only Spaces for Premium Community Members


Open communities are great for growth. But the most engaged communities also have inner circles, exclusive spaces where the most invested members connect, where premium content lives, and where deeper conversations happen without the noise of the public forum.
These gated spaces serve different purposes: beta testing groups, premium customer support, mastermind circles, advisory boards, or simply a VIP lounge for your most active contributors. The common thread is controlled access. Not everyone gets in. And that exclusivity is the point.
Three Join Policies for Different Needs
Jetonomy offers three join policies for each space. Each serves a different use case:
1. Open (Default)
Anyone with an account can join and participate immediately. Best for general discussion spaces where you want maximum participation and zero friction.
2. Request to Join
Members can see the space exists and read its description, but they must request access. A space admin or moderator reviews each request and approves or denies it.
Best for:
- Spaces where you want to vet members before granting access
- Professional groups where you want to verify credentials
- Moderated mastermind circles where group fit matters
3. Invite Only
The space is only visible to members who have been explicitly invited or who meet automated criteria (via membership adapters). Non-members cannot see the space in navigation or search results.
Best for:
- Premium customer support (gated by purchase)
- Beta testing groups (hand-picked testers)
- Advisory boards and inner circles
- Course-specific discussions (gated by enrollment)
Setting Up an Invite-Only Space
Step 1: Create the Space
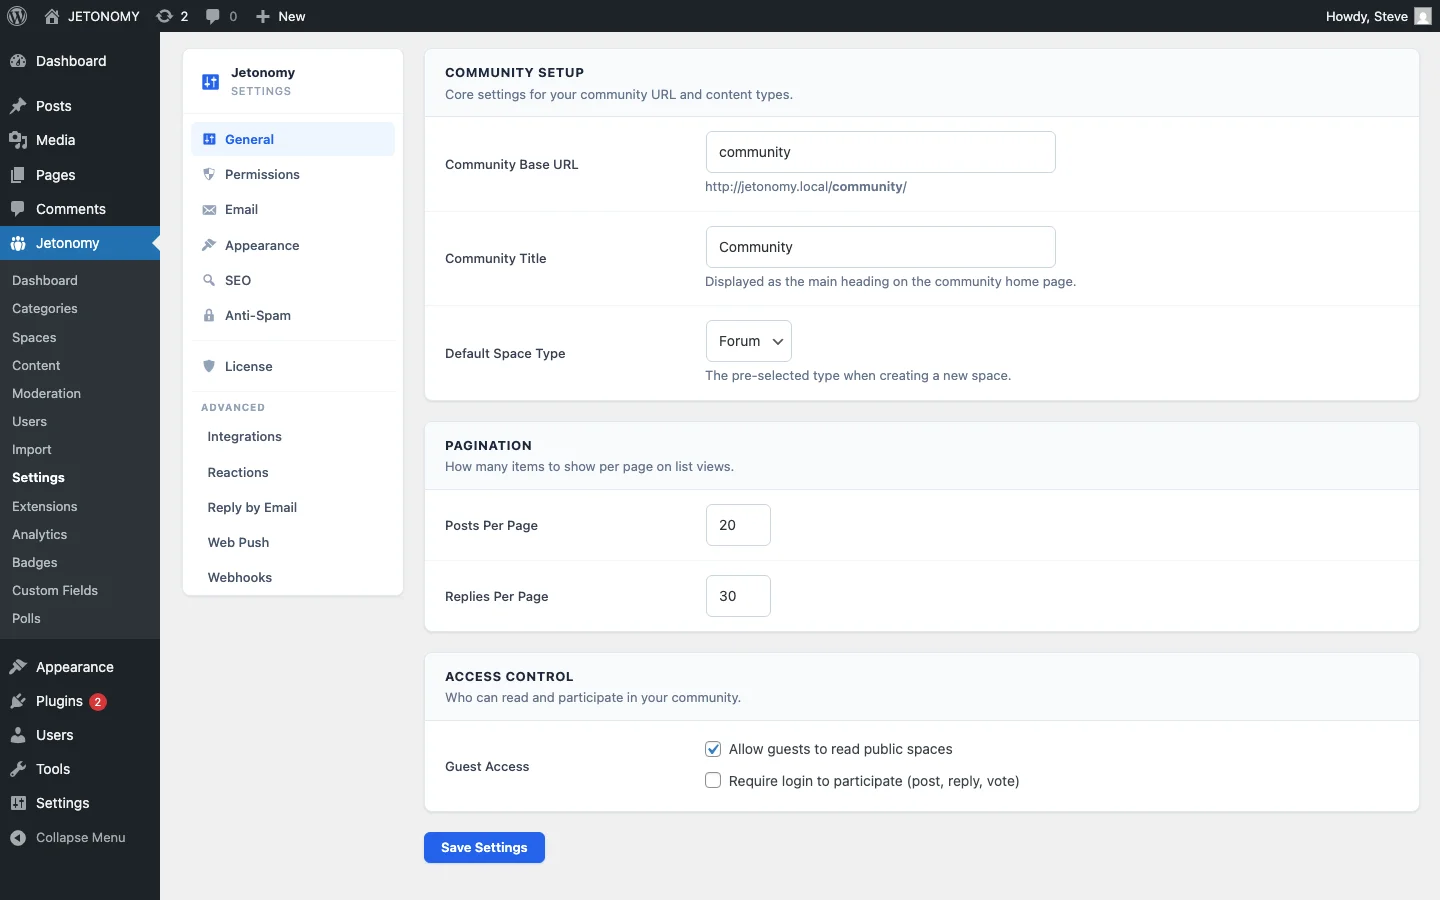
Go to Jetonomy → Spaces in your WordPress admin. Create a new space with a clear name and description. Set the join policy to Invite Only.
Step 2: Choose How Members Get In
There are three ways to add members to an invite-only space:
Manual Invitation
The space admin manually invites specific users. Go to the space’s Members tab and add users by username or email. They receive a notification that they have been added. This is ideal for small, hand-curated groups like advisory boards or beta testing teams.
Invite Links
Generate a shareable invite link with a configurable expiry date. Anyone with the link can join the space. This is perfect for distributing access through email campaigns, Slack messages, or private communications without manually adding each person.
Invite links can be set to expire after a specific date or after a certain number of uses. This prevents the link from being shared indefinitely.
Automated via Membership Adapters
The most powerful approach is automating access based on your existing business systems. Jetonomy Pro’s membership adapters automatically add and remove members based on:
- WooCommerce purchases, Customer buys a product → gets added to the space
- Subscription status, Subscription active → access granted. Subscription expires → access revoked.
- LMS enrollment, Student enrolls in a course → gets access to the course discussion space
- Membership level, Member upgrades to Pro tier → gets access to Pro-only spaces
For a detailed walkthrough of payment-gated access, see our guide on setting up a private support forum for paying customers.
Five Use Cases for Invite-Only Spaces
1. Premium Customer Support
Create a “Priority Support” space visible only to customers on your highest-paying plan. Staff responds within 2 hours instead of the standard 8. This creates a tangible upgrade incentive and reduces churn among your most valuable customers.
2. Beta Testing Group
Hand-pick 20–50 engaged community members to test new features before public release. They get early access, you get feedback and bug reports. The exclusivity makes members feel special and invested in your product’s direction.
3. Mastermind Circle
A small, vetted group of peers who share strategies, challenges, and accountability. Request-to-join policy lets you screen applicants. Keep the group small (20–30 members) to maintain intimacy and trust.
4. Course Discussion Spaces
Each course gets its own private discussion space. Only enrolled students can access it. When a student completes the course, they can optionally retain access as alumni or lose access depending on your preference. See our guide on building a course community for the full setup.
5. Inner Circle / Advisory Board
Your top 10–20 community contributors get invited to a private space where they have direct access to your team. They weigh in on product decisions, test new features early, and receive recognition that deepens their commitment to the community.
Visibility: Hidden vs. Locked
An important design decision: should non-members know the invite-only space exists?
Hidden Spaces
The space does not appear in navigation, category listings, or search results for non-members. It is completely invisible. Only members who have been added can see it.
Best for: beta testing groups, internal team spaces, advisory boards, spaces where non-members do not need to know about them.
Locked Spaces (Visible but Inaccessible)
The space appears in navigation with a lock icon or “Members Only” badge. Non-members can see the space name and description but cannot access the content. An “Upgrade” or “Request Access” button encourages them to take action.
Best for: premium support tiers, membership-gated content, spaces where the visibility of exclusivity drives upgrades.
Mixing Open and Invite-Only Spaces
The best community structures mix access levels. Here is an example:
| Space | Join Policy | Who Gets In |
|---|---|---|
| General Discussion | Open | Everyone |
| Feature Requests | Open | Everyone |
| Customer Support | Invite Only (automated) | Paying customers (via WooCommerce) |
| Priority Support | Invite Only (automated) | Pro/Enterprise customers |
| Beta Testers | Invite Only (manual) | Hand-picked members |
| Advisory Board | Invite Only (manual) | Top 15 contributors |
This structure maximizes growth (open spaces attract new members) while creating meaningful exclusive spaces that reward loyalty and drive upgrades.
Managing Invite-Only Spaces
A few operational tips:
- Keep invite-only spaces active. An exclusive space that nobody posts in feels like a failed experiment. Your team should seed content and start discussions regularly.
- Set expectations on entry. When a member is added to an invite-only space, they should receive a welcome message explaining what the space is for, what they can expect, and how to participate.
- Review membership periodically. For manually curated spaces, review membership every quarter. Remove inactive members (gently, send a message first) and invite new contributors who have earned it.
- Do not over-gate. If most of your community is behind invite-only walls, you lose the public engagement and SEO value that open spaces provide. The ratio should be roughly 60–70% open, 30–40% gated.
Getting Started
- Identify one use case from the five above that fits your community
- Create the invite-only space in Jetonomy (follow the setup guide if needed)
- Add your first 10–20 members manually or via invite link
- Seed with 3–5 starter topics so the space feels alive from day one
- Announce the space to potential members through email or your public forum
Exclusivity, when earned, creates belonging. An invite-only space tells members: you are valued, you are trusted, and you have access to something special. That feeling drives the kind of deep engagement that open forums alone cannot create.
What turns engagement features into sustained participation
How to Set Up Invite-Only Spaces for Premium Community Members fits into the broader forums category through participation loops, recognition, and member retention. That matters because the technical setup is only one part of success. The way you structure spaces, roles, onboarding, and follow-up is what determines whether the forum becomes a searchable asset or just another neglected section of the site.
- Tie rewards to useful behavior such as accepted answers, thoughtful replies, and consistent follow-up, not just raw posting volume.
- Use lightweight interaction features first, then layer in badges, digests, mentions, and leaderboards so the community does not feel over-designed on day one.
- Review participation data monthly to see whether your engagement mechanics are helping newcomers join in or only reinforcing existing power users.
Why teams evaluating this setup should look at Jetonomy Pro
Jetonomy Pro is a strong fit when you want engagement features that connect back to real community outcomes, because it combines reactions, ideas, voting, trust systems, notifications, and structured spaces in one WordPress-native product. If you want to know more and try Jetonomy, take a closer look at Jetonomy Pro. It is the most direct next step for teams that want to move from theory to an actual working WordPress community experience.
For articles like this one, the practical question is not only whether the approach works in theory. It is whether your chosen forum stack gives you the moderation depth, user experience, and extensibility to keep the system useful six months after launch. That is where a more complete product decision starts to matter.