LinkedIn connects millions of professionals on a single platform, letting employers and employees communicate from anywhere. Looking for the best way to build something similar on WordPress? With the right tools, it’s genuinely achievable.
Before you start building, get clear on what your users need: what information should be public, and what should stay private? Once you’ve nailed down the purpose of your site, the next step is picking a platform. WordPress can handle functionality very similar to LinkedIn, including following, friending, and private messaging.
A professional networking platform is a straightforward way to build a performance-focused site. Whether you’re building a social network or an online magazine for your business, the first step is always outlining exactly what features you need.
Building a social site really comes down to two things: a clear business model, and the right software to support it. With the right tools, putting together a functional, good-looking site isn’t nearly as hard as it sounds.
This article covers the tools you need to build a LinkedIn-style website and walks through the process. Your site should stay simple to use and genuinely enjoyable. Here’s a quick preview of what you’ll end up with after following this guide:
Know how to Create Website Like LinkedIn
Here are the steps in detail. By following them, your site will end up with all the community features you’d expect: sign-up, profile pages, posting updates, friend requests, resume uploads, private messaging, group creation, and more. Let’s go through them one by one.
1. Get Domain name

Start by booking a domain for your social networking site, this is what lets users find you. Try to land a “.com” domain if you can; it carries real branding advantages.
Also Read: How To Add Repeater Fields On Your BuddyPress Website?
2. Get Hosting

Once your domain’s secured, it’s time to find hosting. Plenty of providers bundle both domain registration and WordPress hosting, so you can pick up everything from one company.
Once you’ve made the purchase, install and set up WordPress. It’s genuinely easy to use and doesn’t require any prior design or coding experience, and you get full control over the look, style, and every other feature you’ll want to adjust.
3. Install WordPress
The next piece you need is WordPress itself. With domain and hosting sorted, it’s time to make the site look the part. Pick a starter theme built for community sites. Reign BuddyPress Theme, for instance, has a layout and style that genuinely resembles a social networking site, and gives you full control over your site’s design.
Reign BuddyPress ships with a strong set of layouts and features for building a social networking site on WordPress. It’s a customizable membership theme with dedicated BuddyPress and bbPress support, letting you build an engaging social network on WordPress.
Read More: WordPress Themes for Freelancers
4. BuddyPress Social Network Plugin

This step is where you add the actual social networking functionality to your WordPress site. BuddyPress is one of the strongest plugins for this job.
BuddyPress is free and covers almost everything a community website needs. Members can create and update their own profiles, and as an admin, you can extend profiles further with new fields and field groups.
5. BuddyPress Resume Manager Plugin
Next, add a BuddyPress Resume Manager plugin to your site. Install and activate it, and it adds a dedicated resume menu to each member’s profile page, letting community members post their own resumes.
BuddyPress Resume Manager displays individual member resumes right on their BuddyPress profile page. A resume tab gets added to both the BuddyPress admin bar and the profile navigation tabs. The plugin comes with predefined resume fields that admins can enable or disable, and the resume tab is visible to everyone.
Reasons Why to Add Resume in your website
A professional resume showcasing a member’s education, skills, and experience makes it easy for prospective employers to find and reach out to them. It also makes your site feel more professional and interactive overall. Here are a few more reasons a resume feature is worth adding:
A resume displaying skills, education, and work experience acts as an always-on recruiter tool, visible on a member’s profile around the clock, making it easy for interested employers to find them anytime.
Professional resumes add a visually distinct, engaging element to your community site.
A resume shows off a member’s personality in a way that’s genuinely effective.
It lets members compile all their information into a more impressive, individual resume.
Posting resumes online gives members wider reach and better visibility, and having that option tends to keep them more engaged and spending more time on your site.
6. Launch your website
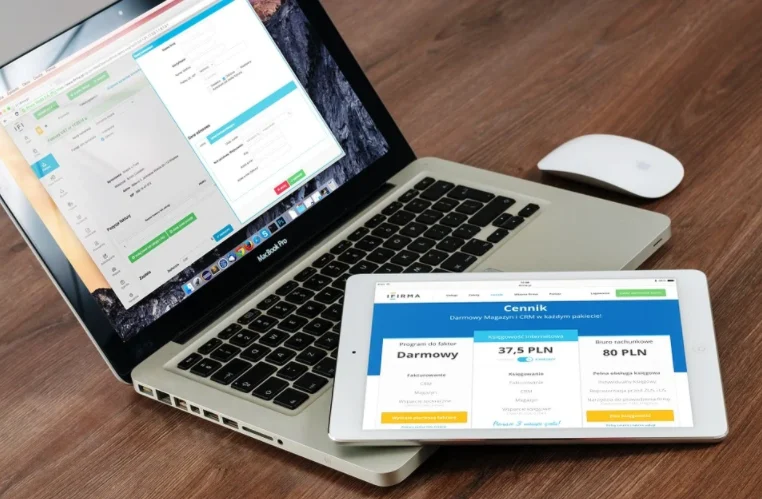
At this point, you’ve got everything you need to build a LinkedIn-style site. Once it’s built, launch it on your server and keep an eye on how users respond.
With a solid customer acquisition strategy in place, visitors should start flocking to your professional networking site before long.

Bottom Line
That wraps things up. Following these steps will get you a LinkedIn-style site running on WordPress. Give BuddyPress Resume Manager and the Reign BuddyPress theme a try to get your own social networking site off the ground.
Interesting Reads:
How To Show Upcoming Birthdays On Your BuddyPress Social Network?